

Table of Contents
- Start With the Correct Packaging Measurements
- Tools and Method for Measuring Packaging
- How to Measure Food Packaging Dimensions and Capacity
- Check Product Fit and Functional Performance
- Prepare a Packaging Specification Sheet
- Sampling, Production, Storage, and Shipping Considerations
- Conclusion: Confirm Every Dimension Before Ordering
Accurate packaging measurements reduce sampling errors, product fit problems, wasted material, and shipment issues. This practical guide explains how to measure food packaging dimensions and capacity before ordering custom paper or plastic packaging.
Start With the Correct Packaging Measurements
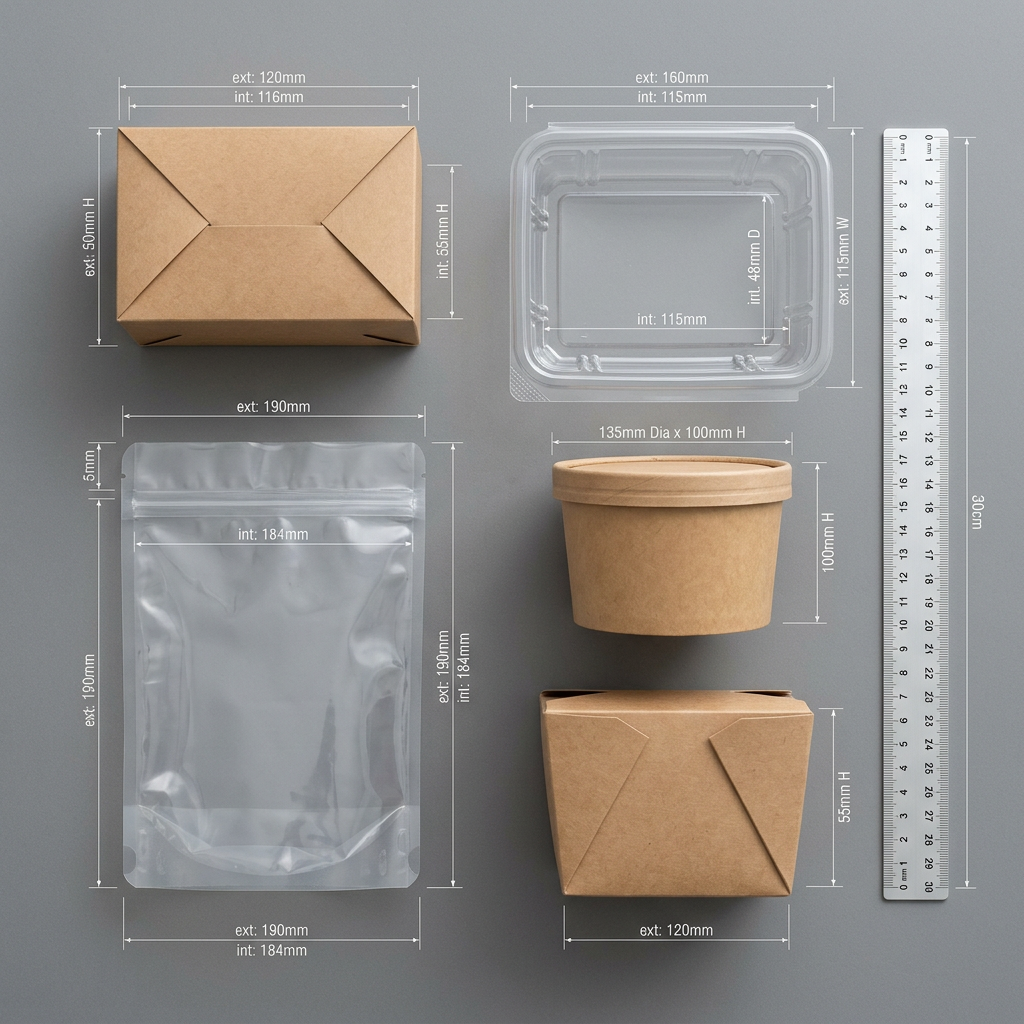
To measure food packaging accurately, record the usable internal length, width, height, diameter, opening, and capacity, then confirm whether the supplier requires internal or external dimensions. Internal dimensions describe the space available for food and are usually the starting point for product fit. External dimensions include material thickness, seams, folds, rims, lids, handles, and other construction details.
Before measuring, define the package format. A rectangular paper food box, round plastic cup, stand-up pouch, tray, bowl, delivery bag, and folding carton each use different dimensional conventions. Ask the manufacturer for a drawing or specification template if the package has gussets, tapered walls, rounded corners, a locking lid, or multiple compartments.
Key terms to define
- Overall dimensions: The full outside measurements of the finished package.
- Internal dimensions: The usable space inside the package.
- Opening dimensions: The size of the mouth or top opening where food is inserted.
- Fill height: The intended food height, which may be lower than the maximum internal height.
- Capacity: The volume the package can hold. Nominal capacity and practical fill capacity are not always the same.
- Material thickness: Paperboard caliper, film thickness, plastic wall thickness, or another specified material measurement.
Material performance, food-contact compliance, MOQ, price, and lead time depend on the exact specification and destination market. A measurement is therefore only one part of a complete packaging brief.
Tools and Method for Measuring Packaging
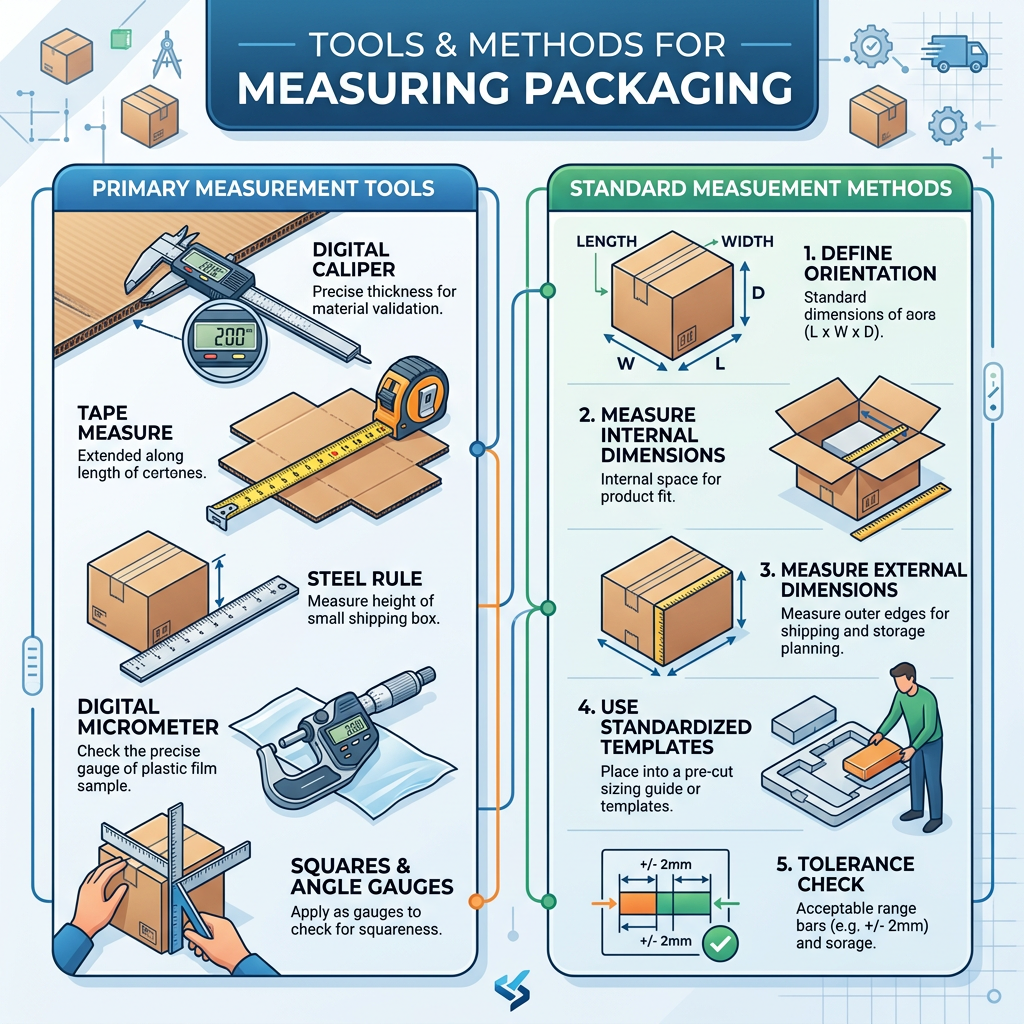
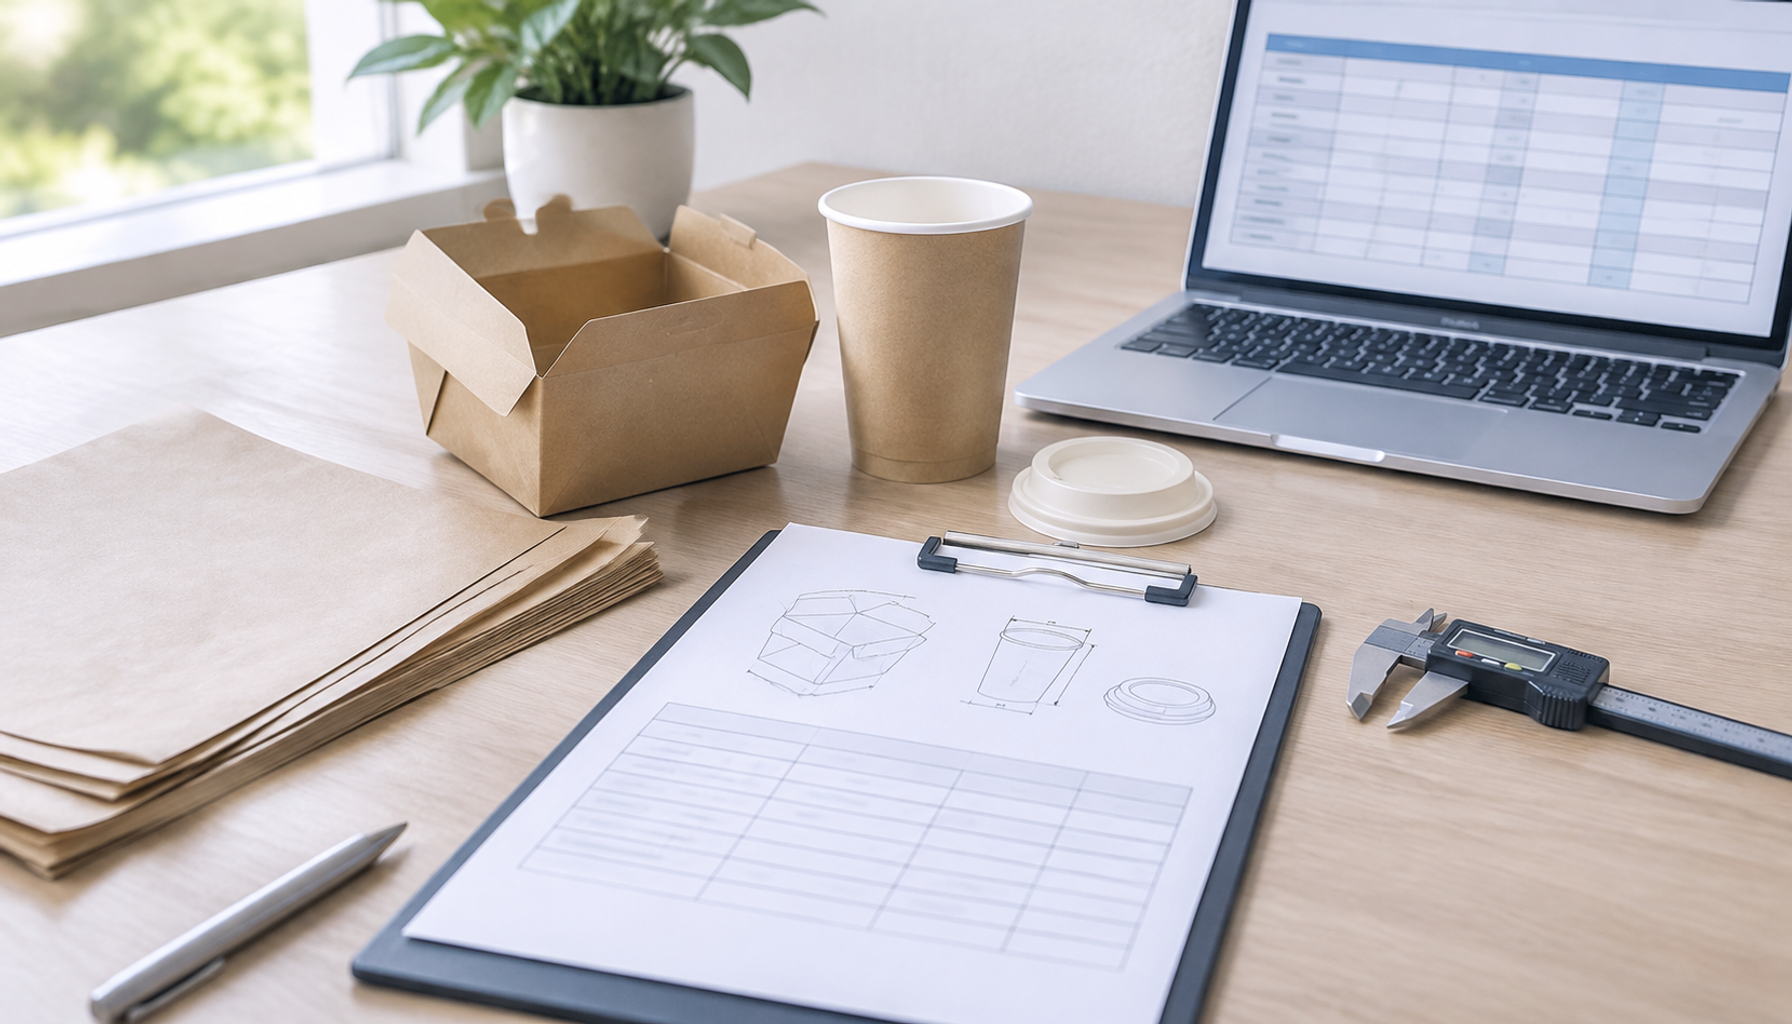
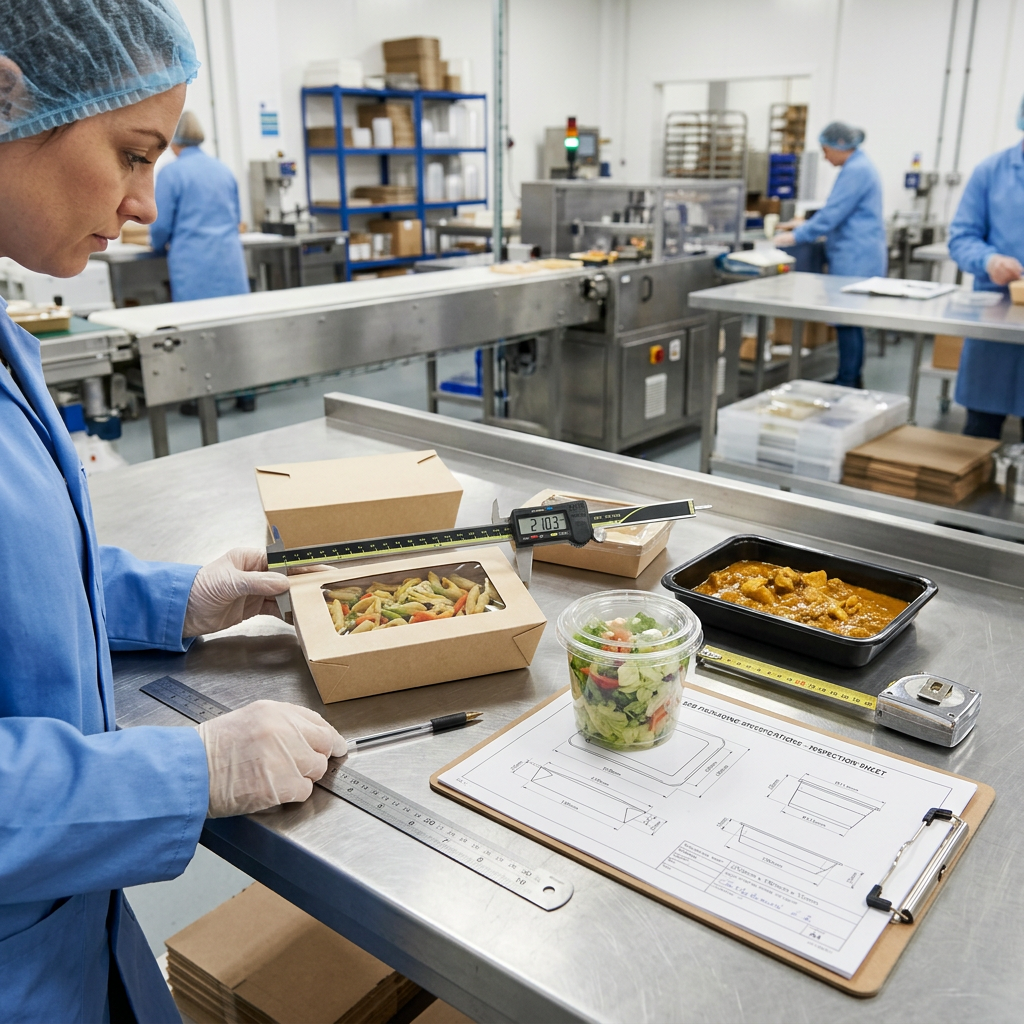
Use a rigid ruler or digital caliper for small rigid packages, a flexible measuring tape for larger bags, and a calibrated scale when comparing the package with a known food portion. A camera, notebook, and simple dimension sketch also help preserve the measurement context for the supplier.
Step-by-step measurement method
- Identify the reference condition. Measure the package empty, assembled, and fully opened as applicable. For flexible packaging, state whether it is flat, filled, or supported.
- Measure the length and width. For a rectangular container, measure the longest internal side as length and the shorter internal side as width. Measure at the intended fill area rather than only at the rim if the walls taper.
- Measure height or depth. Measure from the internal base to the usable fill line. Record the maximum internal height separately if the lid or seal requires headspace.
- Measure the opening. Record the internal opening length and width for rectangular packages, or the internal diameter for round packages. A product may fit inside the body but fail at the opening.
- Record construction features. Note corner radii, gusset depth, seal width, rim shape, lid overlap, divider position, and any internal step or shoulder.
- Repeat critical measurements. Measure each dimension at least twice and use the same reference points. Differences may indicate taper, flexible material movement, or inconsistent folding.
Do not measure only the outside of an existing package and assume the result represents usable capacity. Paperboard thickness, film seals, folded corners, and lid clearance reduce the available space. For a custom package, the final dieline and forming method determine the finished dimensions.
How to Measure Food Packaging Dimensions and Capacity
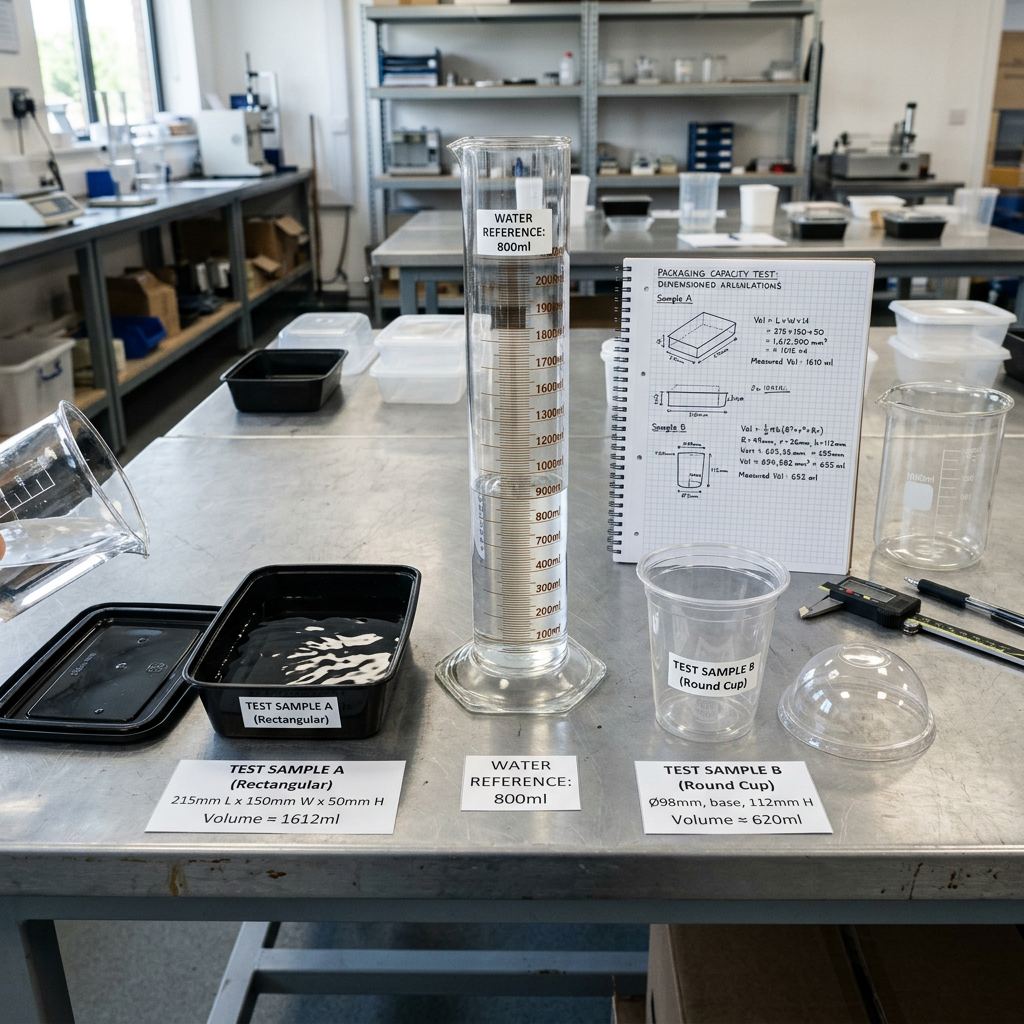
Capacity is normally estimated from internal dimensions, but the calculation should be checked against the actual product and filling process. Use consistent units throughout the calculation. One cubic centimetre equals one millilitre, while one cubic decimetre equals one litre.
Basic capacity formulas
- Rectangular package: length × width × usable height = approximate volume.
- Cylindrical cup or bowl: 3.1416 × radius × radius × usable height = approximate volume.
- Rectangular package with compartments: calculate each compartment separately and add the results.
- Pouch with gussets: use the supplier’s forming drawing or a filled sample because flat width does not equal final internal volume.
For example, an internal space measuring 180 mm × 120 mm × 45 mm has a theoretical volume of 972,000 cubic millimetres, or approximately 972 ml. This does not mean the package should be filled to 972 ml. Product shape, liquid movement, headspace, lid clearance, seal area, and the desired presentation may reduce the practical fill quantity.
Use a product-based capacity check
Place the actual food, a representative substitute, or a measured volume of water into a sample package. Check the package at the intended fill level, then close the lid or seal. For oily, liquid, hot, chilled, irregular, or layered foods, test the actual product whenever possible. Record both the target serving quantity and the maximum acceptable fill quantity.
Do not convert between fluid ounces, millilitres, grams, and other units without confirming the product density. A package holding 500 ml of water will not necessarily hold 500 g of sauce, rice, or salad. For procurement, specify capacity in volume and serving weight where both matter.
Check Product Fit and Functional Performance
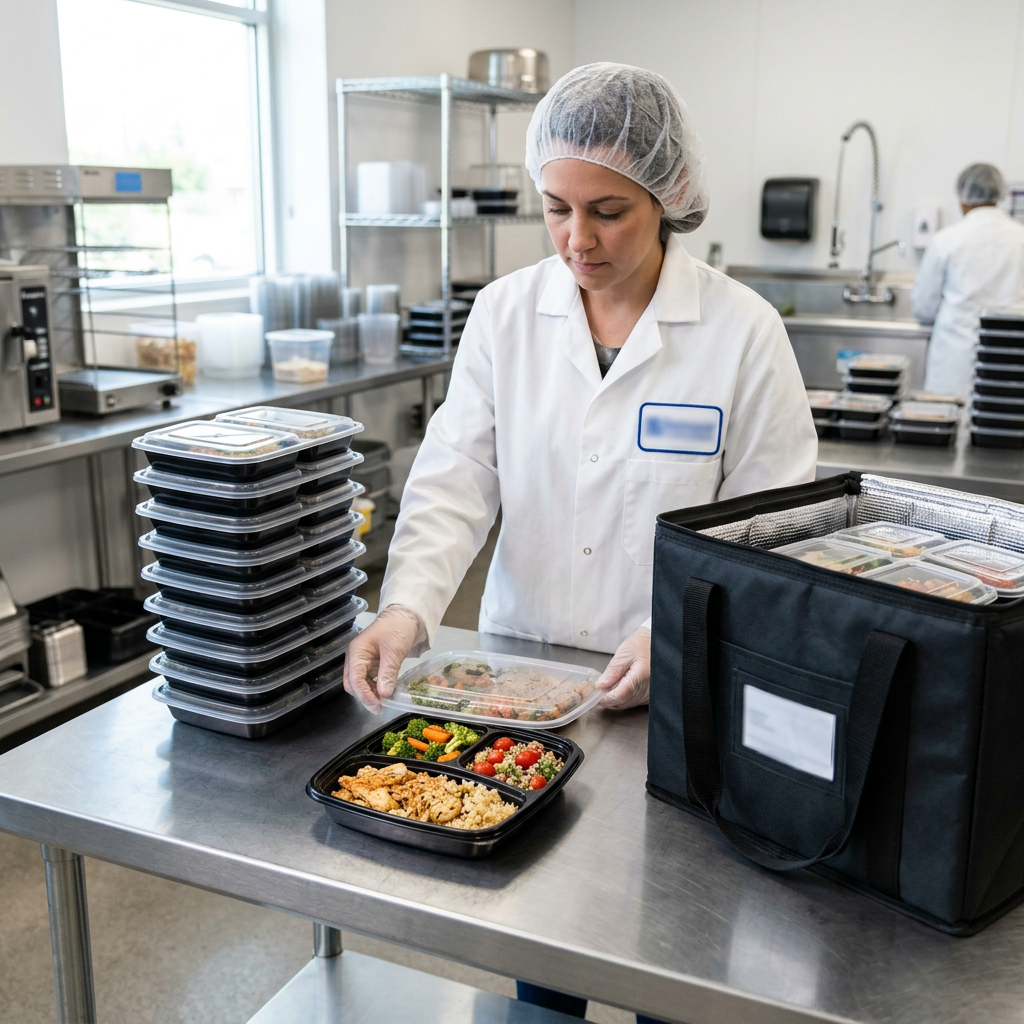
Correct dimensions must support the full use case, not just the product’s static size. Check how food is loaded, transported, displayed, opened, closed, stacked, reheated if applicable, and disposed of. The required material and coating depend on those conditions and must be confirmed for the exact package.
Fit checklist for buyers
- Measure the product at its largest practical length, width, and height.
- Allow space for toppings, garnish, sauce cups, utensils, or other accessories.
- Confirm whether the food needs headspace to prevent contact with the lid.
- Check that the opening supports the filling tool, scoop, pump, or automated line.
- Test whether the lid closes without compressing the food or creating excessive movement.
- Assess nesting when empty and stackability when filled.
- Check outer dimensions against delivery bags, shelves, crates, cartons, and pallets.
- For liquid or greasy foods, verify the suitable substrate, barrier, coating, and closure with the supplier.
For meal-prep and grab-and-go formats, compartment dimensions can be as important as total capacity. Dividers should prevent unwanted mixing while still leaving enough room for filling and sealing. For delivery formats, the package should fit the selected carrier system and avoid unnecessary movement during handling.
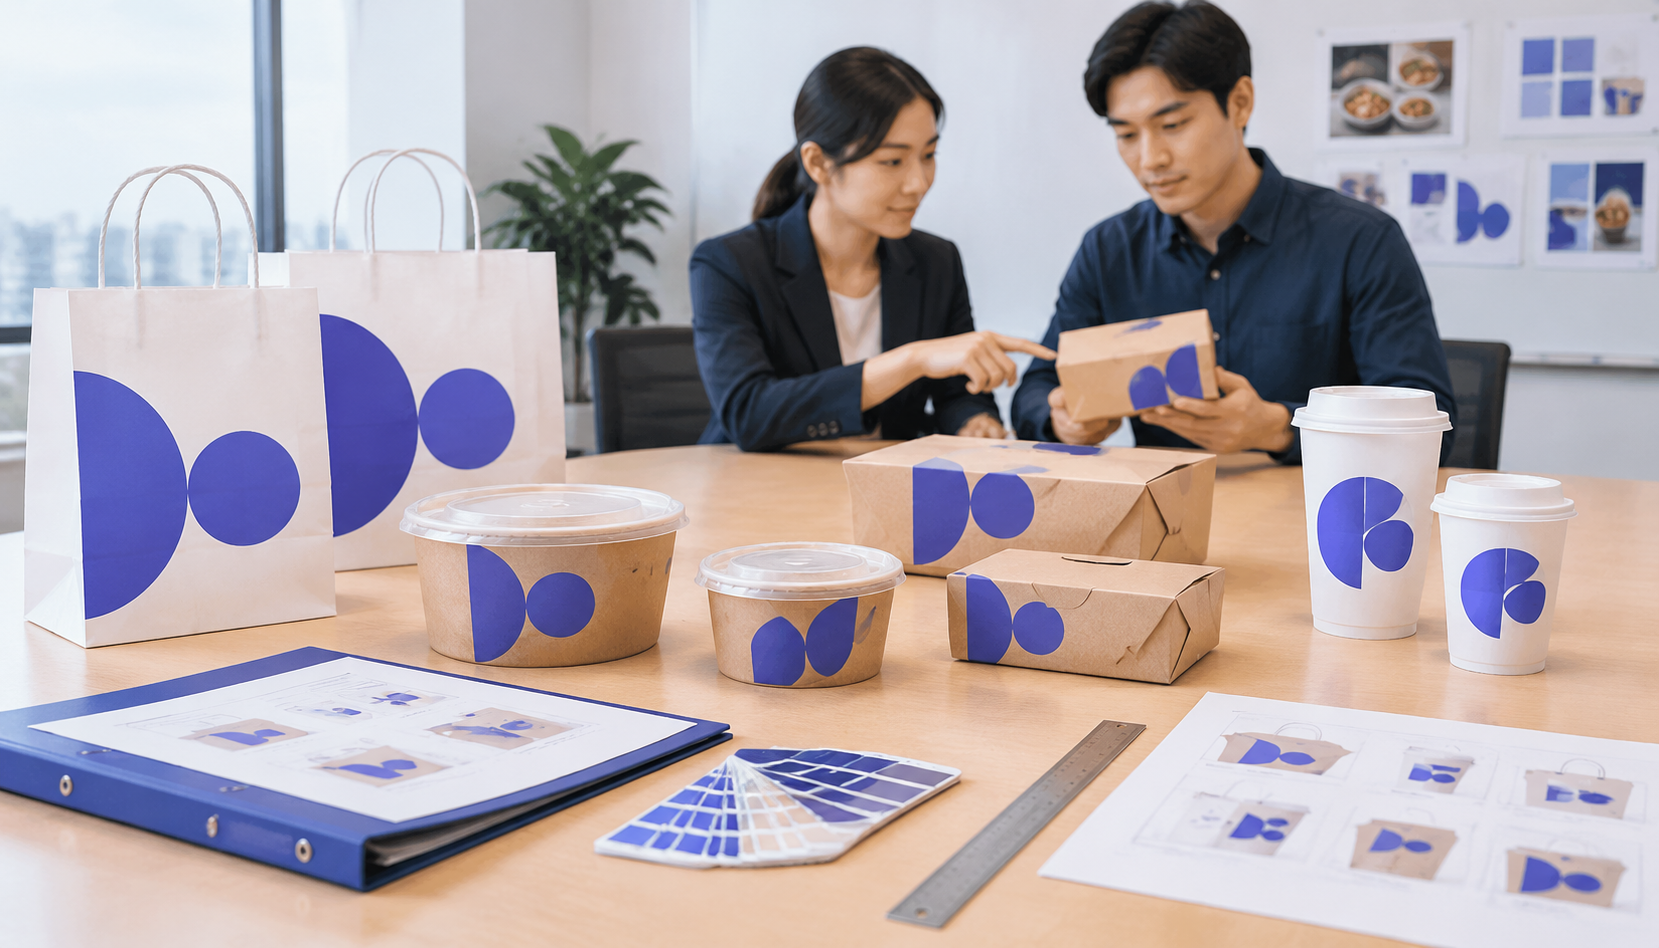
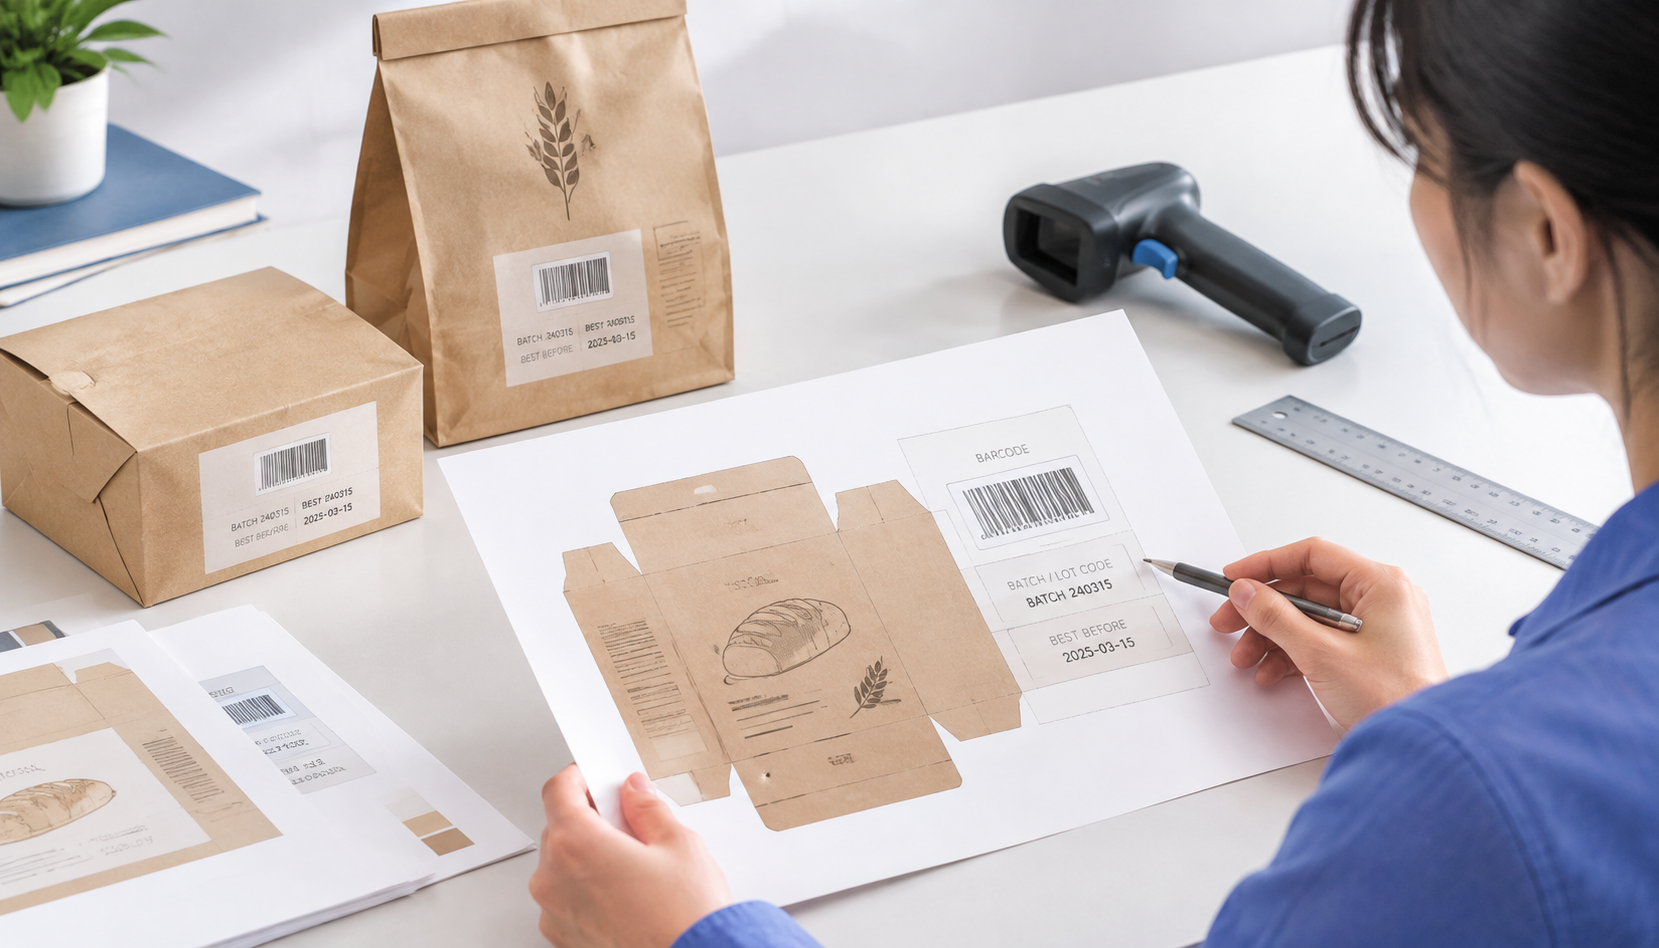
For printed packaging, the printable panel and usable design area may be smaller than the total outside surface. Confirm panel dimensions, bleed, fold positions, seam areas, barcode placement, and artwork orientation before approval. Printing method, color requirements, and substrate affect the final production specification; review the guidance on CMYK and Pantone food packaging printing.
Prepare a Packaging Specification Sheet

Send the manufacturer one consolidated specification sheet rather than separate measurements in emails. This reduces ambiguity and gives the sampling and production teams a single reference.
Include these fields
- Product type and food application
- Internal dimensions and external dimensions, clearly labeled
- Opening dimensions, fill height, and target capacity
- Target serving weight or volume
- Number and size of compartments
- Material type, thickness or caliper, and color
- Coating, lining, barrier, seal, or closure requirements
- Lid, handle, divider, window, cutlery, or other accessories
- Printing process, number of colors, artwork files, and print panels
- Required packaging configuration and case packing
- Estimated order quantity and expected repeat-order frequency
- Destination market and delivery location
Attach a dimensioned sketch or sample photos with a ruler for unusual shapes. State tolerances where they are important, but let the manufacturer confirm achievable tolerances for the selected material and forming process. A nominal dimension without a tolerance may be interpreted differently during production.
Sampling, Production, Storage, and Shipping Considerations
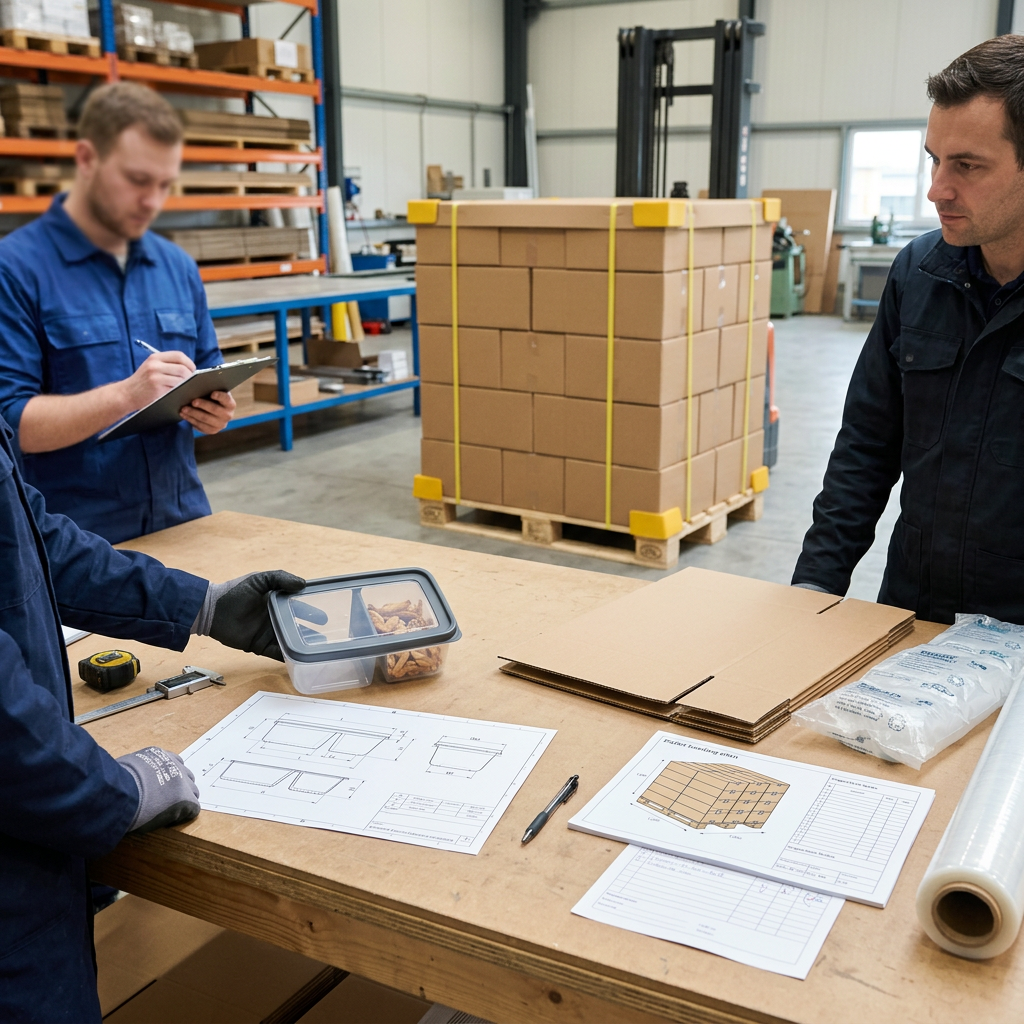
Request a sample before approving mass production whenever dimensions, closure, capacity, or fit are critical. Confirm whether the sample is handmade, digitally produced, or made with production tooling, because the sample method may not reproduce every production detail. Ask which dimensions are controlled and how the supplier will inspect them.
What to test during sampling
- Measure the sample using the agreed reference points.
- Fill it with the intended food or a suitable test material.
- Close, stack, carry, and open it repeatedly.
- Check leakage, deformation, lid security, seal quality, and product presentation as applicable.
- Confirm compatibility with the filling, labeling, delivery, storage, and display process.
- Approve the final drawing, artwork, material, coating, accessories, and packing method in writing.
Record the approved dimensions and capacity in the purchase specification. Do not rely on a product photograph or an approximate size name such as “medium” or “32 oz” without a dimensioned drawing. Actual capacity depends on geometry, fill line, headspace, and the intended food.
Storage and shipping can also change the practical result. Confirm whether empty packages must be kept dry, protected from heat, moisture, dust, crushing, or odor transfer. Review case dimensions, units per carton, carton weight, pallet arrangement, and container utilization with the supplier. These details affect warehouse space and freight planning, but exact logistics depend on the final package and destination.
For tamper-evident delivery formats, dimensional fit should be checked against the food container, closure area, and handling workflow. See the tamper-evident delivery bag buyers guide for related size and use-case considerations.
Conclusion: Confirm Every Dimension Before Ordering
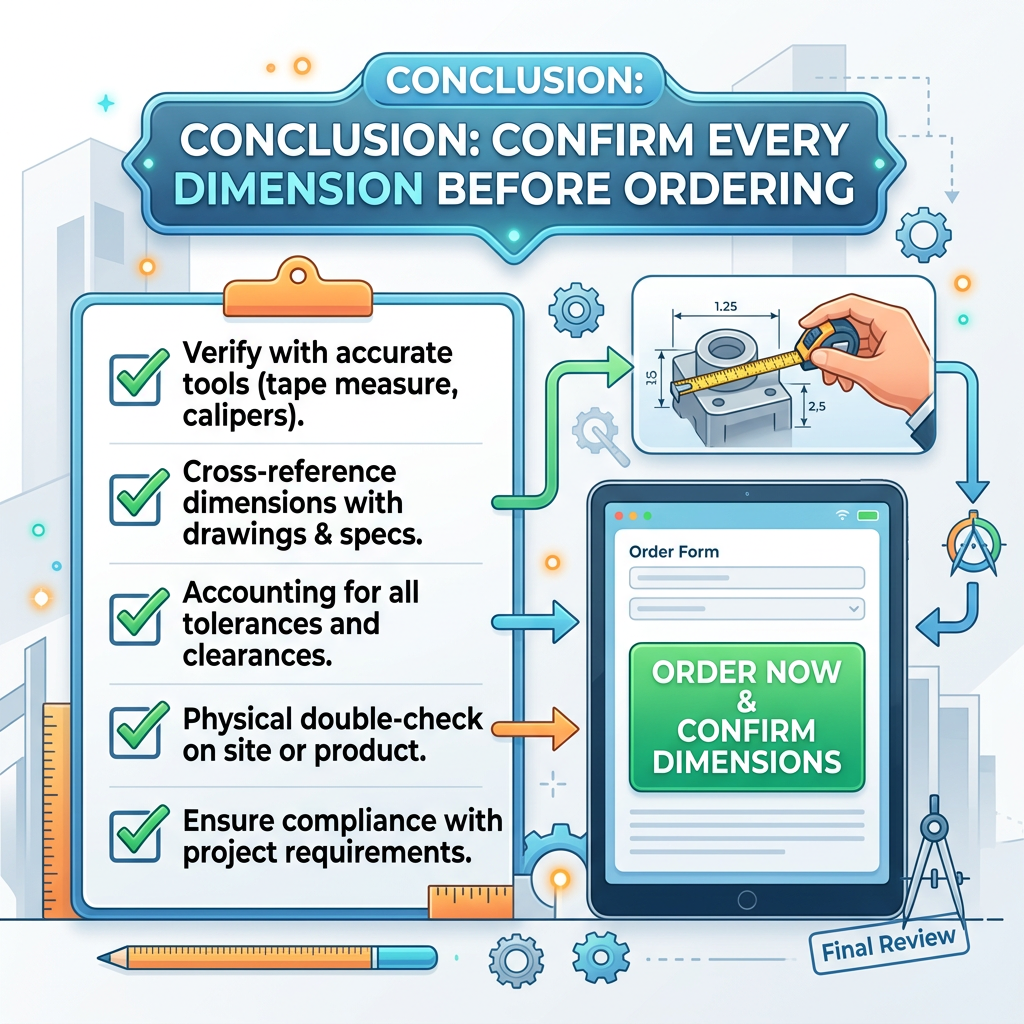
Learning how to measure food packaging dimensions is mainly about defining the correct reference points and checking the measurements against the real foodservice workflow. Start with internal dimensions and practical fill capacity, then verify the opening, lid clearance, compartments, material, coating, printing area, stacking, storage, and shipping requirements. A dimensioned drawing and approved sample provide a clearer production reference than a nominal size or capacity label.
Because material performance, food-contact compliance, MOQ, price, and lead time depend on the exact specification and destination market, share the complete brief with the manufacturer before requesting a quotation or production schedule.