


Table of Contents
- What Are the Main Custom Food Packaging Artwork Requirements?
- Start With the Correct Packaging Dieline
- Prepare the Artwork File Correctly
- Check Bleed, Trim, Fold, and Safe Areas
- Manage Colors, Images, Fonts, and Small Text
- Review Print Proofs Before Production
- Production Handoff Checklist for Buyers
- Conclusion: Approve Artwork Before Ordering
The main custom food packaging artwork requirements are an approved dieline, correctly prepared print files, suitable color settings, sufficient bleed, outlined or embedded fonts, high-quality images, and a reviewed physical or digital proof. Confirm every specification with your packaging manufacturer because material, printing process, product structure, and destination market can change the final requirements.
What Are the Main Custom Food Packaging Artwork Requirements?
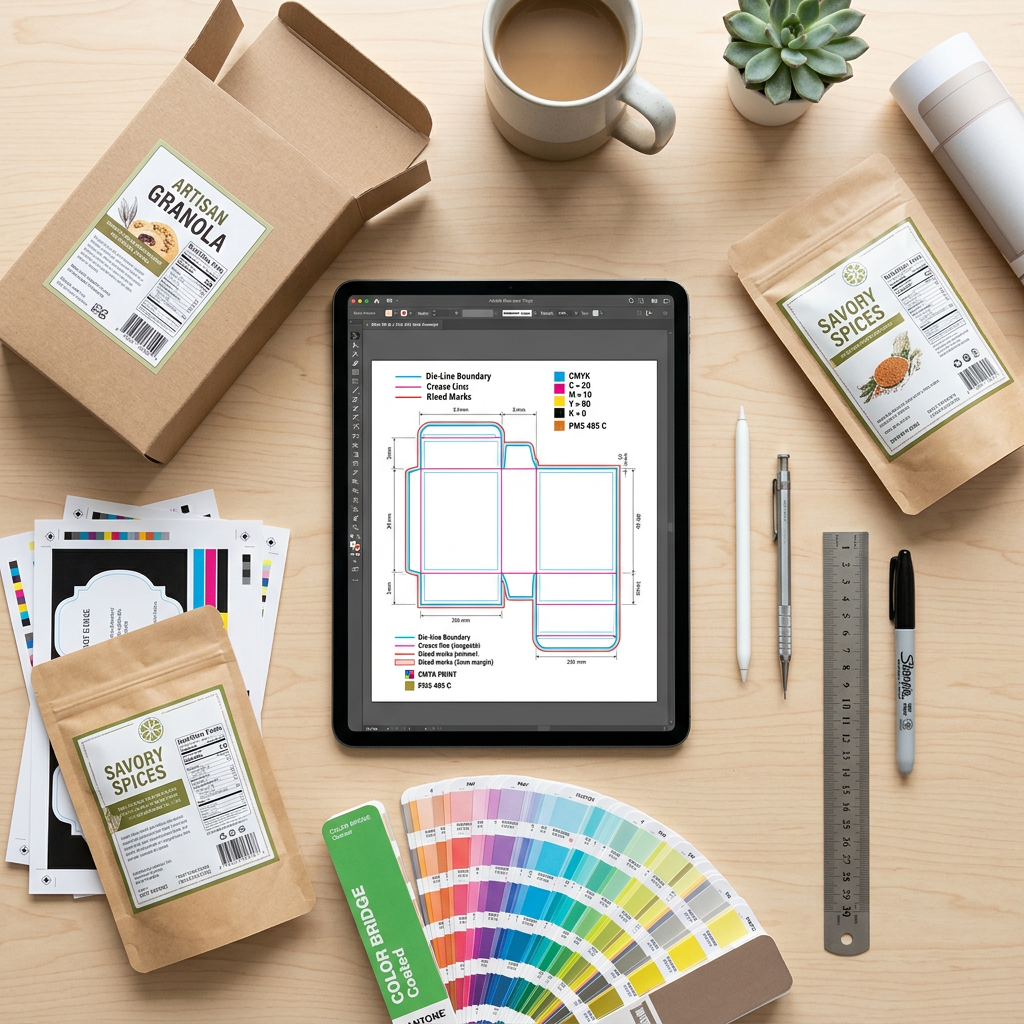
The main custom food packaging artwork requirements are an approved dieline, a correctly sized production file, bleed beyond the cut line, safe spacing for important content, suitable color settings, embedded or outlined fonts, high-resolution images, and a signed-off print proof. The artwork must also match the actual packaging material, coating, printing method, folds, seals, windows, lids, and regulatory information required for the destination market.
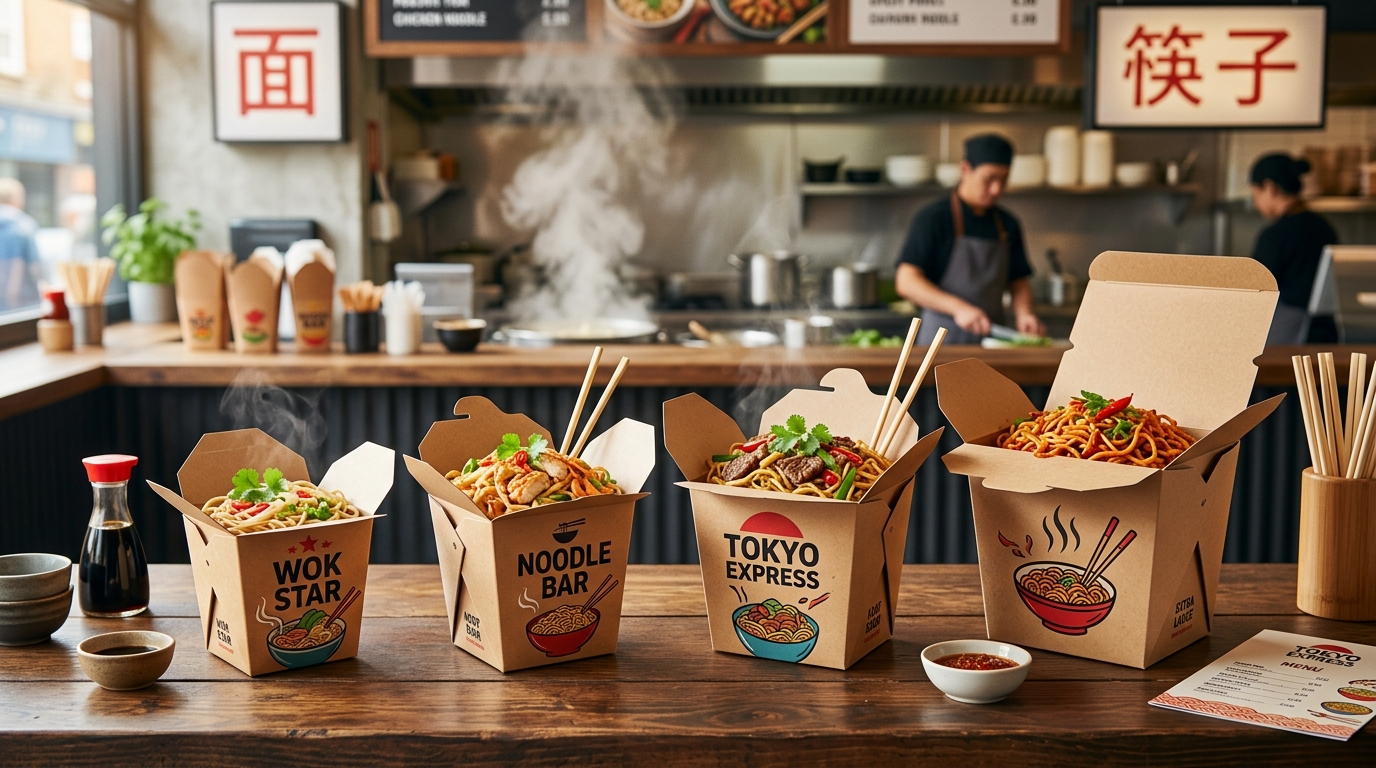
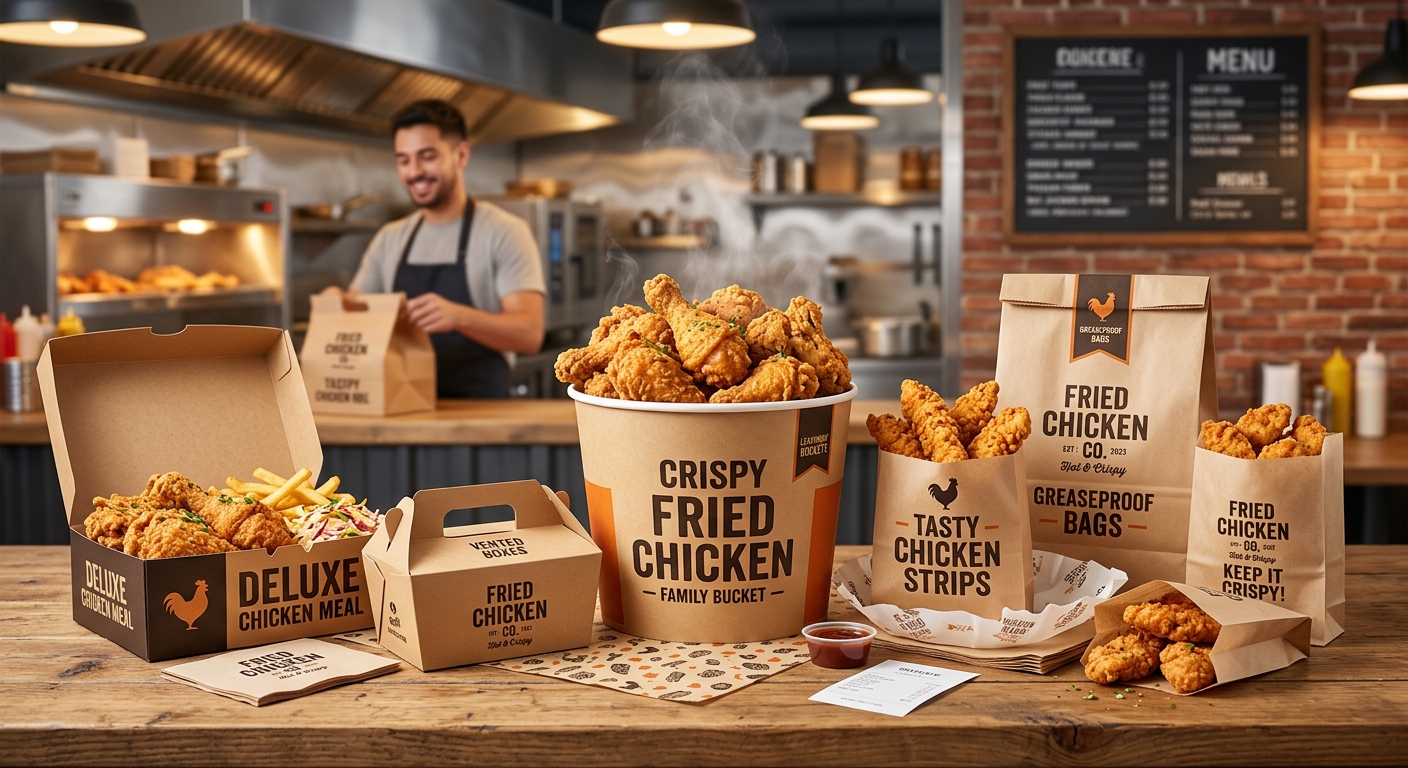
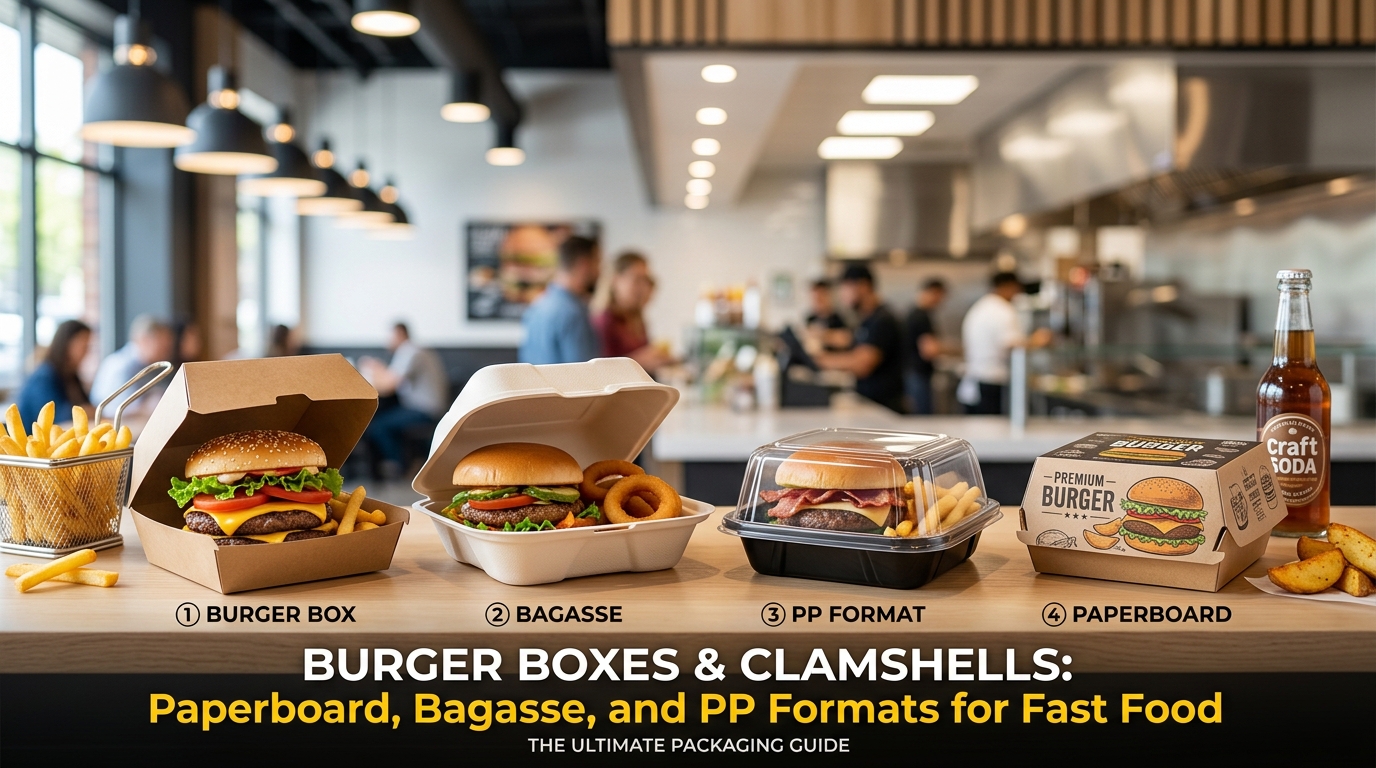
For procurement teams, artwork approval is not only a design task. It is a production-control step. A file can look correct on a monitor but still create problems when it is transferred to a paper bag, food box, wrap sheet, cup, label, or plastic package. Cutting, folding, surface texture, ink coverage, coating, and material color can all affect the finished appearance.
Before sending final files, confirm the manufacturer’s exact dieline and artwork instructions. Material performance, food-contact compliance, minimum order quantity, price, production timing, and shipping arrangements depend on the complete specification and destination market.
Start With the Correct Packaging Dieline
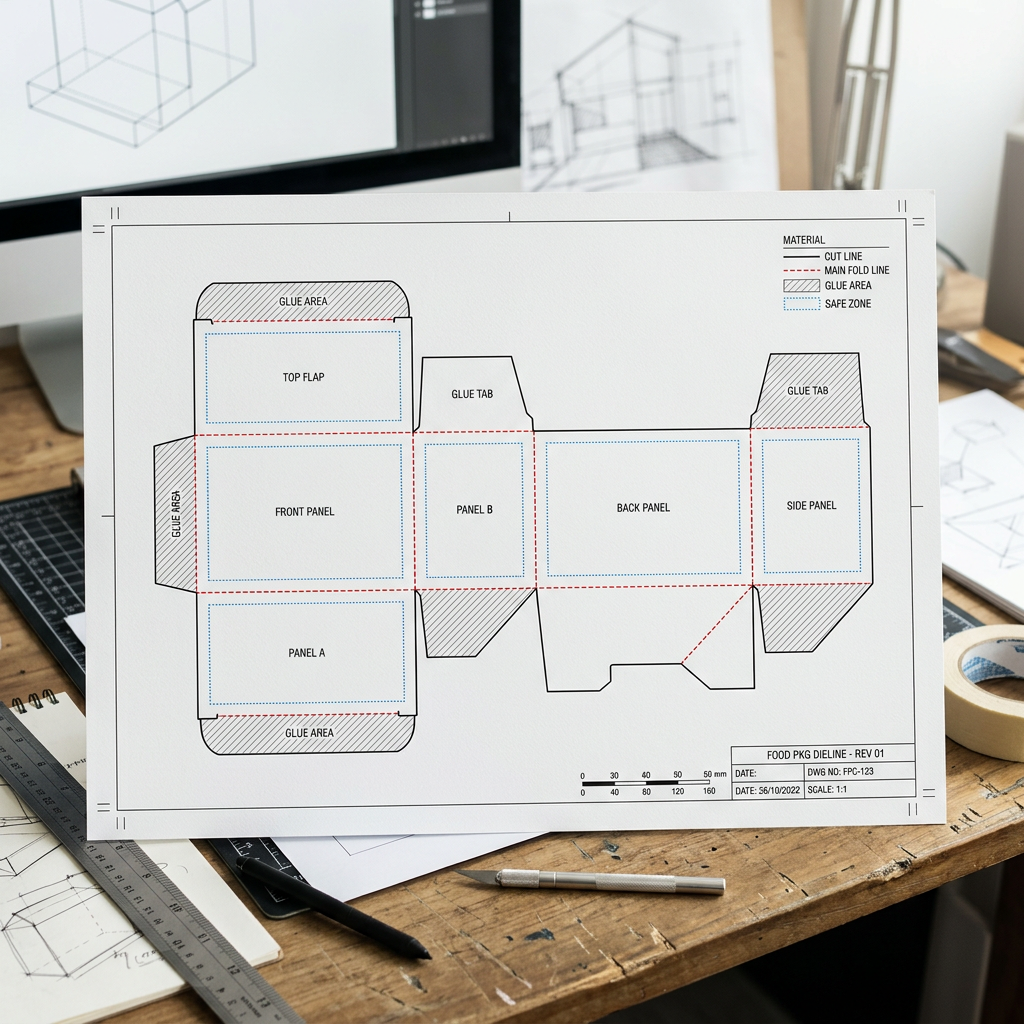
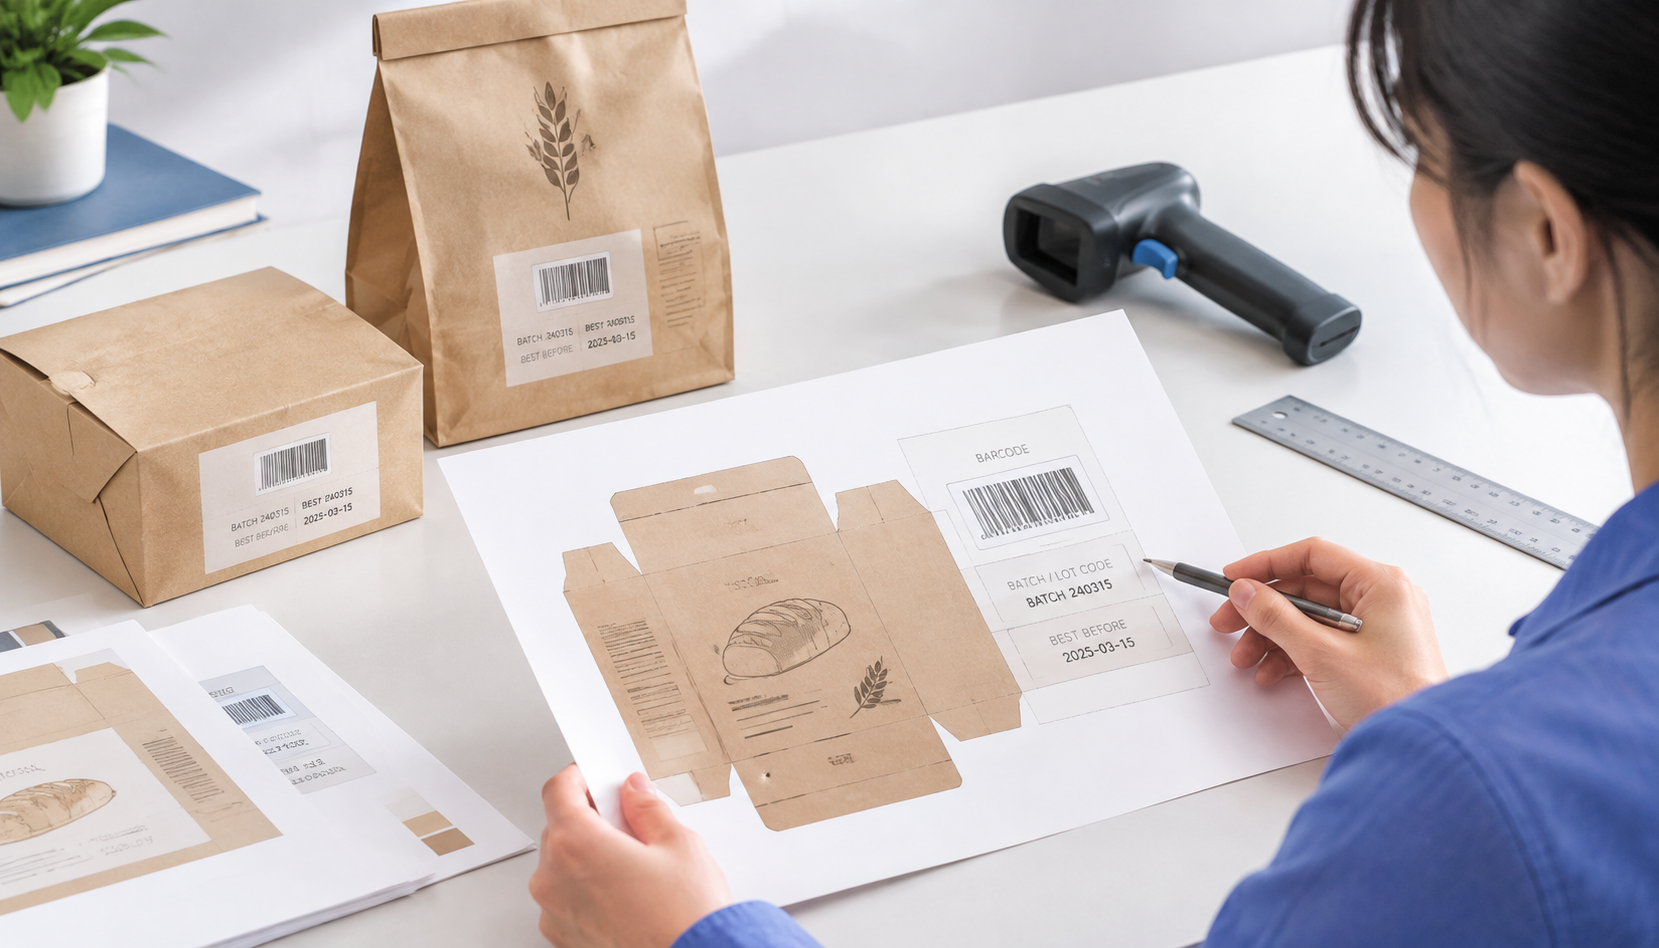
A dieline is a technical layout showing the flat shape of a package before it is cut, folded, glued, sealed, or assembled. It normally identifies cut lines, fold lines, glue areas, window positions, handle holes, seal zones, and other structural features. Artwork should be placed on the manufacturer’s approved dieline rather than on a similarly sized template downloaded from the internet.
Why the dieline matters
- Dimensions: Small changes in length, width, height, gusset, or flap position can move logos and legal information.
- Orientation: Panels may rotate or reverse after folding, especially on bags, cartons, trays, and sleeves.
- Non-print areas: Glue, seals, windows, perforations, handles, and closures may require blank space.
- Structure: The same artwork cannot automatically be reused on a box, paper bag, wrap, or flexible package with a different construction.
Ask the supplier to identify the front panel, back panel, side panels, top, bottom, inside, outside, and reading direction. Keep structural lines on a separate locked layer. Do not delete them until the printer confirms that the final production file has been checked.
If the package is intended for meal preparation, delivery, catering, or grab-and-go service, artwork placement should also support operational use. Product labels, reheating instructions, tamper indicators, recycling information, and opening directions should remain visible after assembly. See our meal prep and grab-and-go packaging guide for related specification considerations.
Prepare the Artwork File Correctly
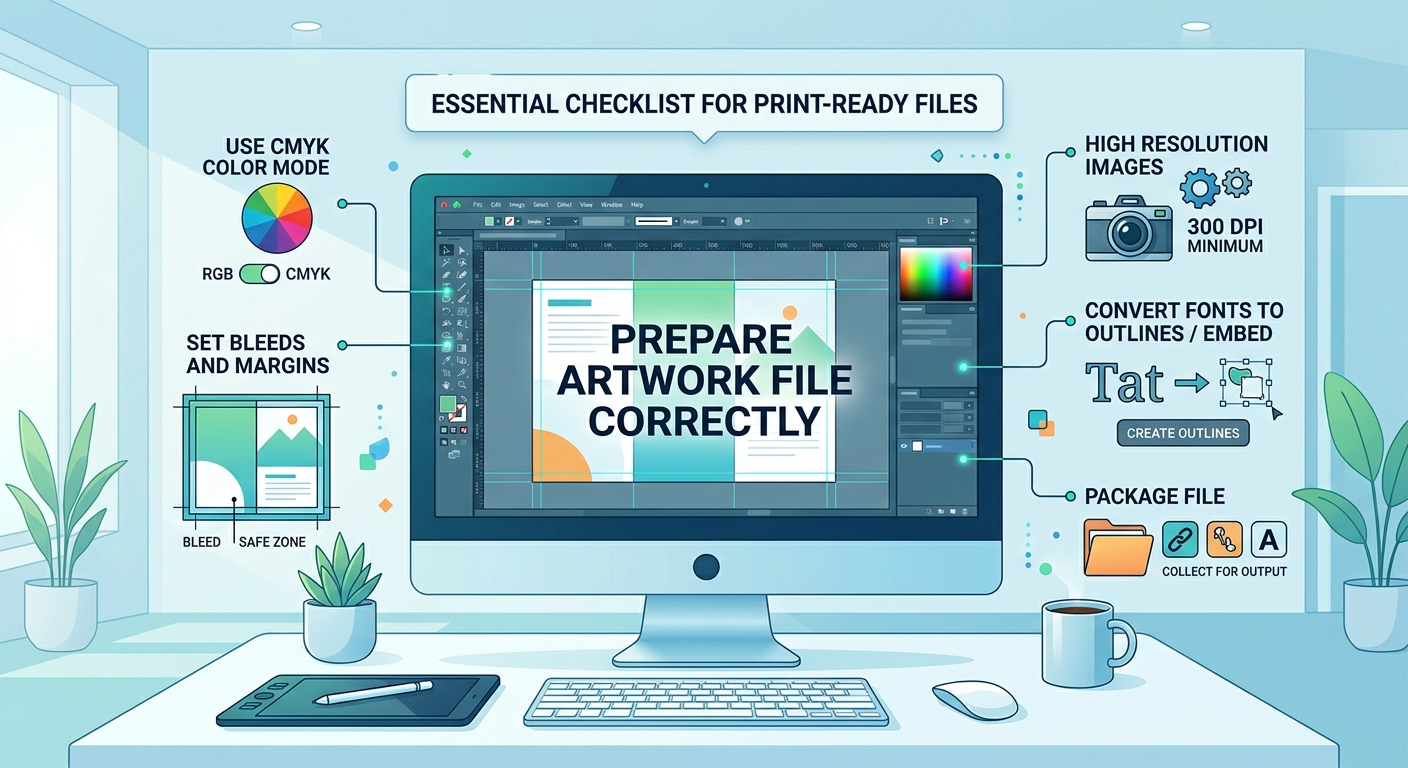
Most packaging artwork is prepared in professional vector design software and supplied as a press-ready PDF, although the accepted format depends on the printer and production process. Common working formats include Adobe Illustrator, InDesign, or similar applications. Confirm whether the factory wants a PDF, AI, EPS, or another file type before delivery.
Recommended file checks
- Use the exact finished dimensions shown on the approved dieline.
- Keep cut, fold, perforation, glue, white-ink, varnish, and other technical layers clearly named.
- Embed linked images or package them with the source file.
- Outline fonts or provide the font files if the supplier’s workflow requires editable text.
- Remove hidden objects, unused swatches, stray points, and unnecessary design elements outside the artboard.
- Make sure the artwork is placed on the correct print side and panel orientation.
- Export a production PDF using the printer’s requested settings rather than assuming a general web PDF is acceptable.
Keep two versions: an editable master file for future revisions and a locked production file for the approved order. Name the file with the product, size, material, version, and date. A simple version-control system can prevent an old flavor, barcode, ingredient panel, or address from being sent to production.
For foodservice items such as wrap paper, bags, and cartons, the substrate may have a visible texture or natural base color. Request a material sample or blank structural sample when appearance is important. Our food wrap paper buyer’s guide explains why material selection affects both use and printed presentation.
Check Bleed, Trim, Fold, and Safe Areas
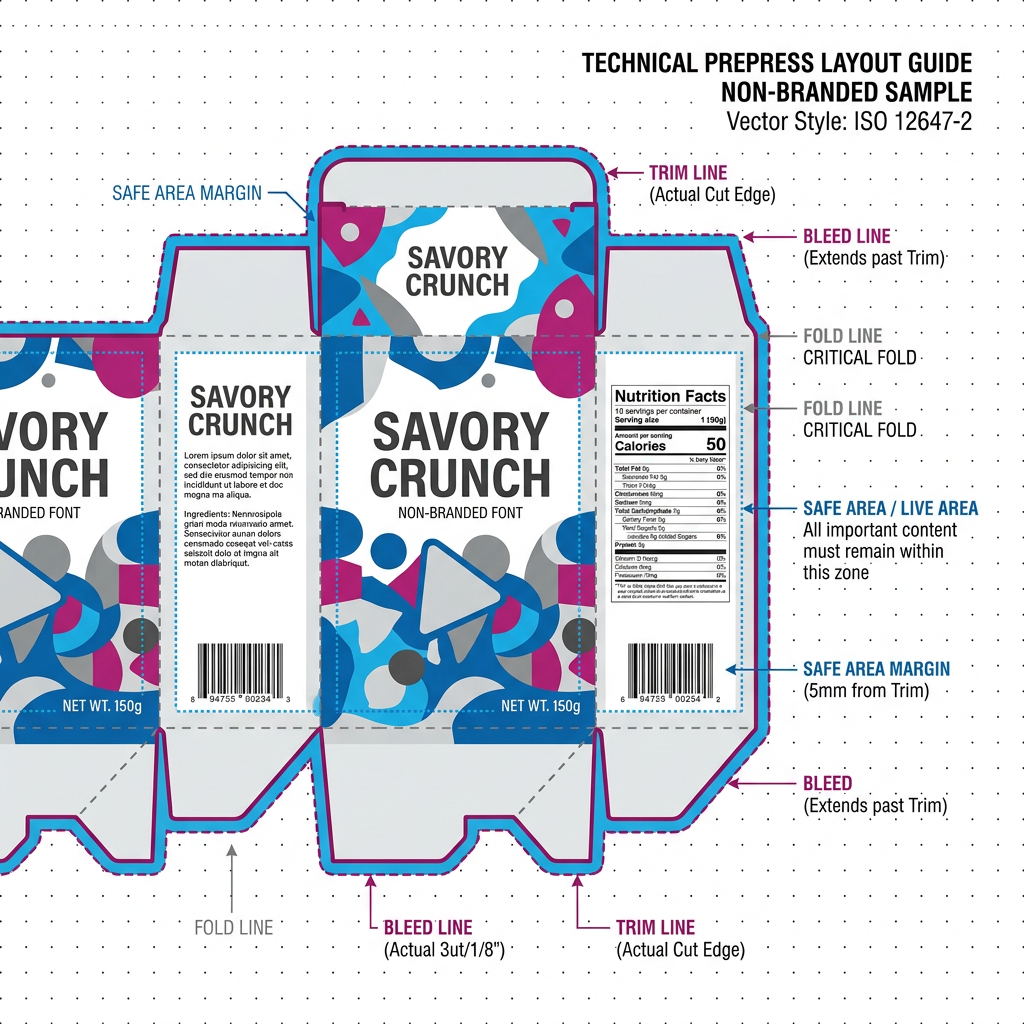
Bleed is the extra artwork that extends beyond the intended cut edge. It allows for normal cutting variation so that a background color or image reaches the edge without leaving an unwanted white strip. The trim line indicates the intended finished edge. The safe area is the space inside the trim line where important text, logos, barcodes, and legal information should be kept.
Do not apply a universal bleed value to every package. The correct amount depends on the dieline, converting process, product structure, and printer’s tolerance. Some suppliers may specify a particular bleed, while others may build it into the supplied template. Confirm the required value before final export.
Practical placement rules
- Extend full-bleed backgrounds, patterns, and photographs beyond the cut line as instructed.
- Keep critical text and logos away from cuts, folds, perforations, seals, and glue zones.
- Do not place barcodes across a fold, curved edge, gusset, or heavily textured area.
- Check whether a window, handle, lid, or closure will cover part of the design.
- Review the assembled package, not only the flat artwork.
For trays, catering boxes, and multi-panel cartons, the fold sequence can change how a design is read. A physical mock-up is especially useful when the package has compartments, lids, or transport features. See the catering packaging guide for related structural and handling considerations.
Manage Colors, Images, Fonts, and Small Text

Color on a monitor is usually displayed as RGB light, while most conventional print workflows use CMYK ink or other defined ink systems. A printed result can therefore differ from the screen version. The substrate, ink, coating, press, color profile, and ink coverage also influence the result.
Color requirements to confirm
- Whether the job will use CMYK, spot colors, or a combination.
- Whether brand colors require a referenced spot-color standard or an approved physical target.
- Whether white ink, metallic ink, varnish, or other special layers are available and how they must be named.
- Whether the material is white, kraft, transparent, metallized, coated, or uncoated.
- Whether the printer will convert colors or expects the buyer to manage conversion before submission.
Do not rely on a screen alone for brand-critical colors. Request a digital proof for layout and content review, and ask whether a physical press or production sample is appropriate for color-sensitive work. A proof is an approval reference, not a guarantee that every production unit will look identical under every light source.
Raster images should be supplied at suitable resolution for the final size; low-resolution images may show pixelation, especially on large panels. Vector logos and line art generally scale more reliably. Check minimum text size and line weight with the printer because these limits vary by process, material, and reverse-printing method. Small white text, fine lines, and reversed type may lose clarity on textured or absorbent substrates.
Verify all variable information separately: product name, flavor, net quantity, ingredients, allergens, barcode, QR code, recycling or disposal wording, manufacturer details, and destination-market requirements. Packaging artwork review does not replace the buyer’s responsibility to verify legally required information.
Review Print Proofs Before Production
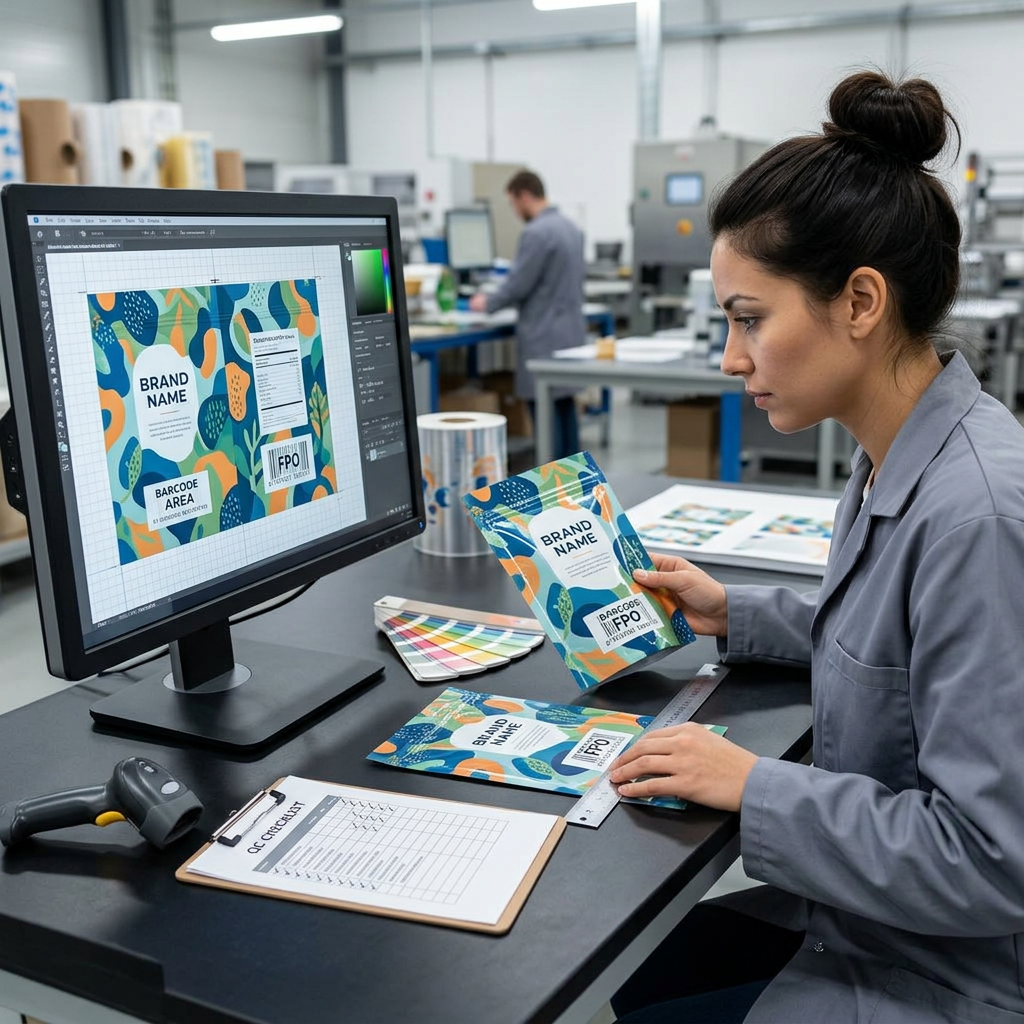
A print proof is a pre-production representation used to check artwork before the manufacturing run. A digital proof is useful for reviewing text, layout, panel order, dieline placement, and visible technical elements. A physical proof or production sample provides more information about the actual material, folding, surface, scale, and handling. Ask the supplier which type is available and what it can accurately represent.
Proof approval checklist
- Confirm the product name, version, size, capacity, flavor, and language.
- Check every panel after the dieline is folded into the finished structure.
- Review logos, colors, images, gradients, fine lines, and reversed text.
- Scan barcodes and QR codes from the proof when practical, then confirm final verification requirements.
- Check ingredient, allergen, nutritional, recycling, storage, and other market-specific information with the responsible compliance team.
- Inspect the position of windows, handles, seals, lids, tamper features, and glue areas.
- Record all corrections in one controlled revision and request a new proof after material changes or significant artwork edits.
Only an authorized buyer or brand representative should approve the production proof. Written approval should identify the file version and state whether the approval covers layout only or also color and material appearance. If the supplier recommends a sample, review it under representative lighting and compare it with the agreed reference.
Production Handoff Checklist for Buyers
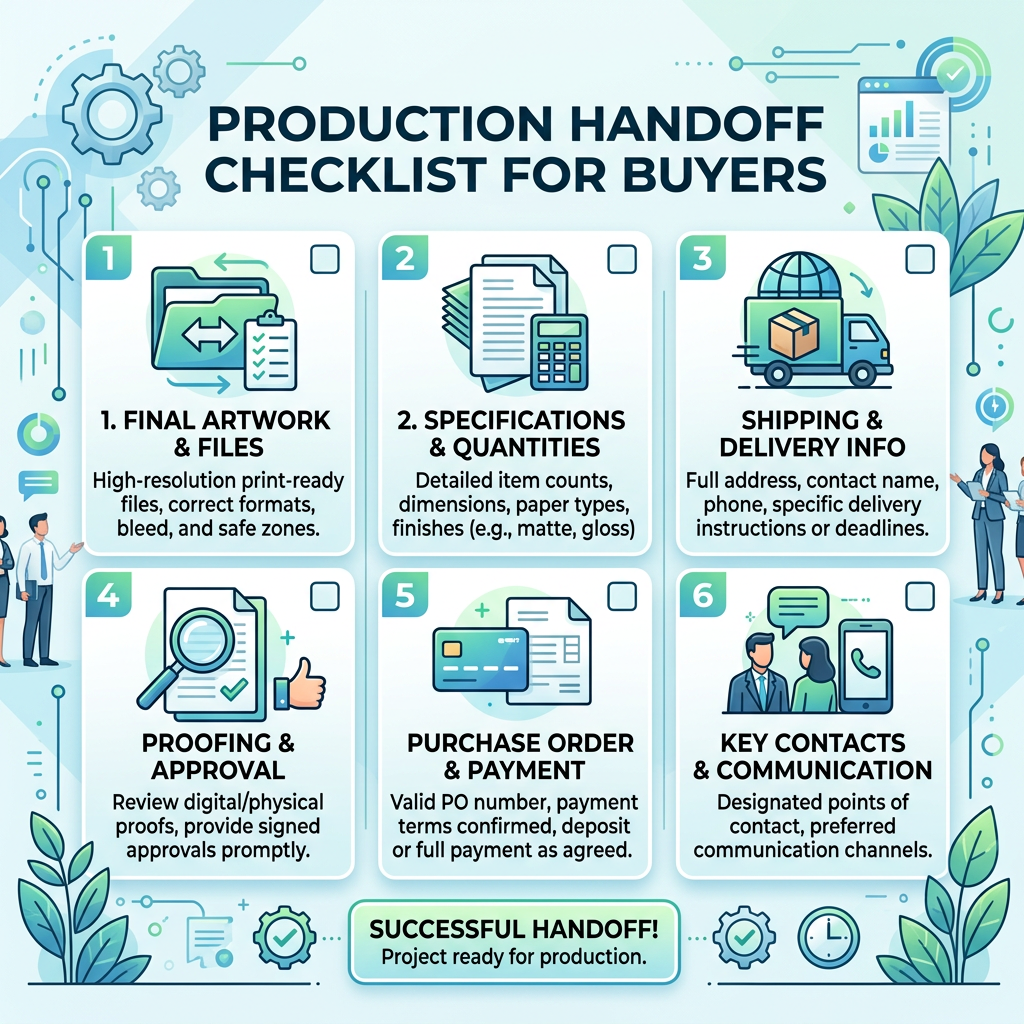
Use the following handoff sequence to reduce avoidable artwork delays:
- Define the package: Confirm product type, dimensions or capacity, material, coating, printing method, lid or accessory, quantity, and destination market.
- Request the technical template: Obtain the current dieline and written instructions from the manufacturer.
- Prepare the design: Build the artwork to the supplied dimensions and separate production layers from visual design layers.
- Check content: Verify branding, copy, variable data, barcodes, legal information, and language versions.
- Preflight the file: Check bleed, safe areas, fonts, image links, color settings, overprint behavior, and special finishes.
- Submit for review: Send the production file with a low-resolution reference PDF or assembled preview when requested.
- Approve the proof: Record the approved version, comments, date, and authorized approver.
- Confirm commercial details: Reconfirm MOQ, sampling, production, quality-control arrangements, packaging for shipment, storage requirements, and shipping documents.
Sampling is valuable when the package has complex folds, a window, a special coating, multiple colors, or strict brand tolerances. The sample should be checked for both appearance and use: opening, filling, stacking, sealing, labeling, and transport. The final inspection plan should be agreed before mass production rather than after goods are shipped.
Conclusion: Approve Artwork Before Ordering
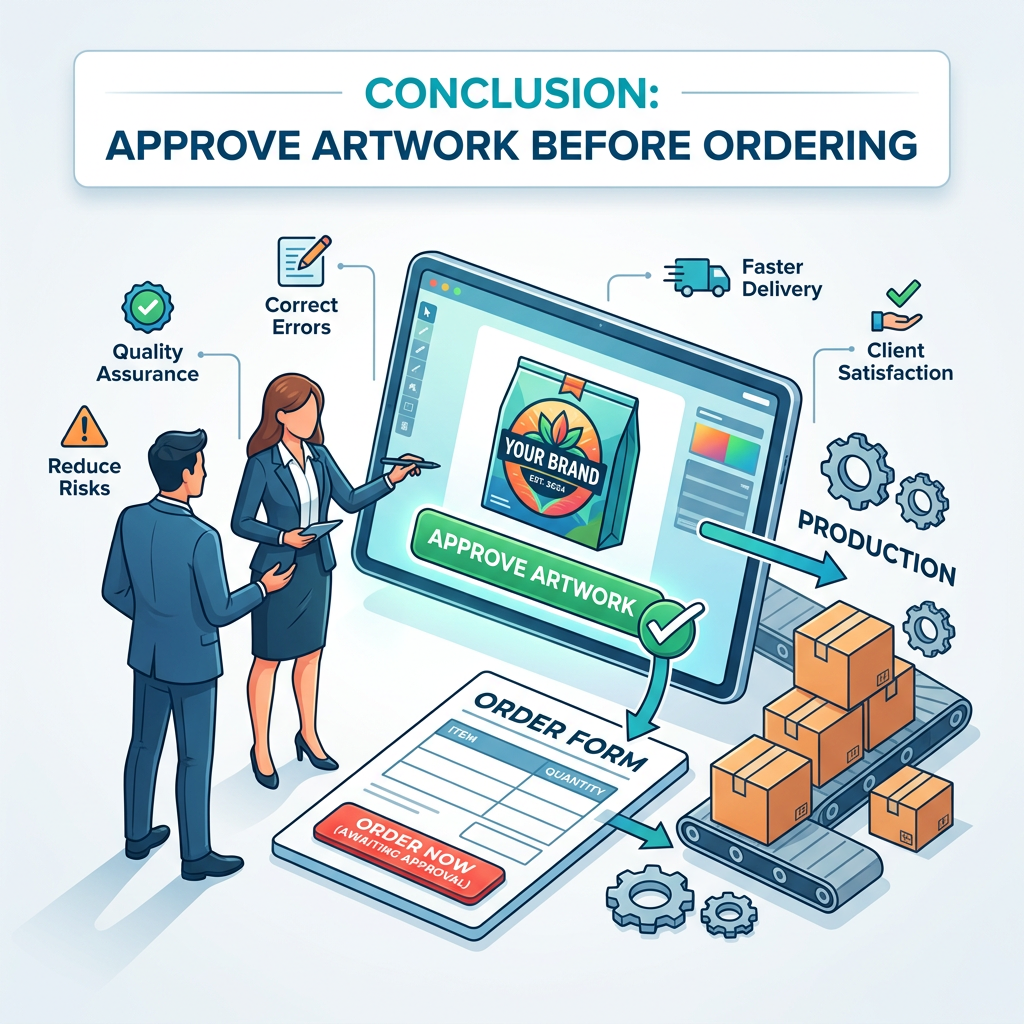
Following the custom food packaging artwork requirements from the first dieline review through written proof approval helps protect your brand, avoid production rework, and reduce communication gaps. The most important controls are using the correct structural template, setting bleed and safe areas properly, confirming color and material behavior, checking every variable detail, and approving the correct final version.
Requirements are not identical for every food package. Exact file formats, bleed, color references, print limitations, sampling options, MOQ, price, lead time, food-contact compliance, and shipping conditions depend on the package specification and destination market.