
The Critical Role of Sampling in Food Packaging Procurement
For procurement managers and brand owners in the food industry, the transition from a digital design to a physical product is the most high-risk phase of the supply chain. A minor error in material thickness, ink formulation, or structural dimensions can lead to thousands of dollars in wasted inventory, compromised food safety, or a failed product launch. This is why the sampling process is not merely a courtesy—it is a technical necessity.
When sourcing food packaging boxes or complex laminate structures, the sample serves as your “Golden Standard.” It is the physical contract between you and the manufacturer. In this guide, we will analyze the technical nuances of requesting samples, the different types of prototypes available, and the rigorous checklist you must apply before authorizing mass production.
1. Understanding the Different Types of Packaging Samples
Not all samples are created equal. Depending on where you are in the product development lifecycle, you may need different levels of fidelity. Understanding these options helps manage costs and timelines effectively.
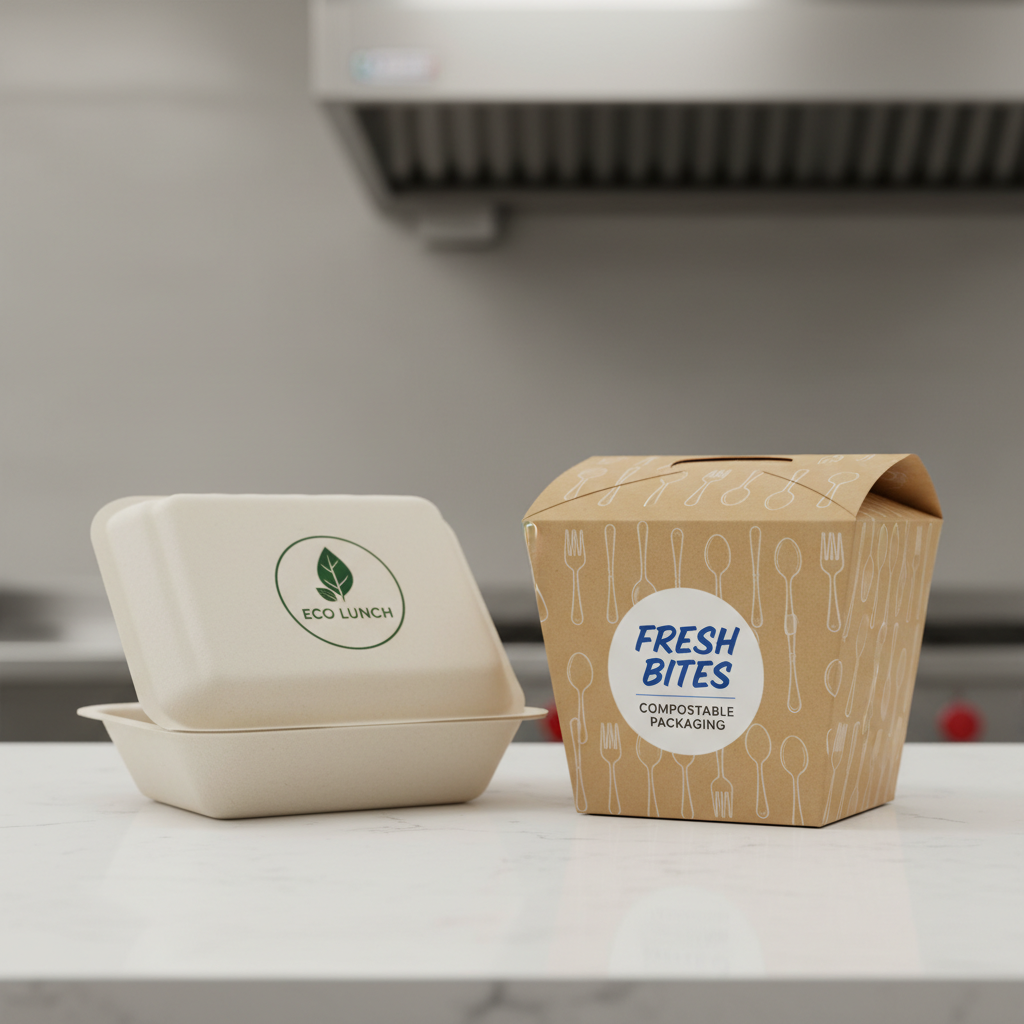
Stock Samples (Existing Production)
These are samples of products the supplier has previously manufactured for other clients. While they won’t feature your branding, they are essential for evaluating the manufacturer’s baseline quality. Use stock samples to check:
- Material Feel: The texture and rigidity of the paperboard or plastic.
- Print Quality: The clarity of fine text and the vibrancy of colors achieved through their specific machinery (Offset, Flexo, or Gravure).
- Construction: The strength of adhesives and the precision of die-cuts.
Dieline/Digital Proofs
Before any physical material is cut, you will receive a 2D or 3D digital proof. This is the stage to verify the custom packaging order process details, such as flap placements, bleed lines, and barcode scannability. While digital proofs are fast, they cannot simulate physical tactile properties or color accuracy on specific substrates.
Plain Samples (White Mockups)
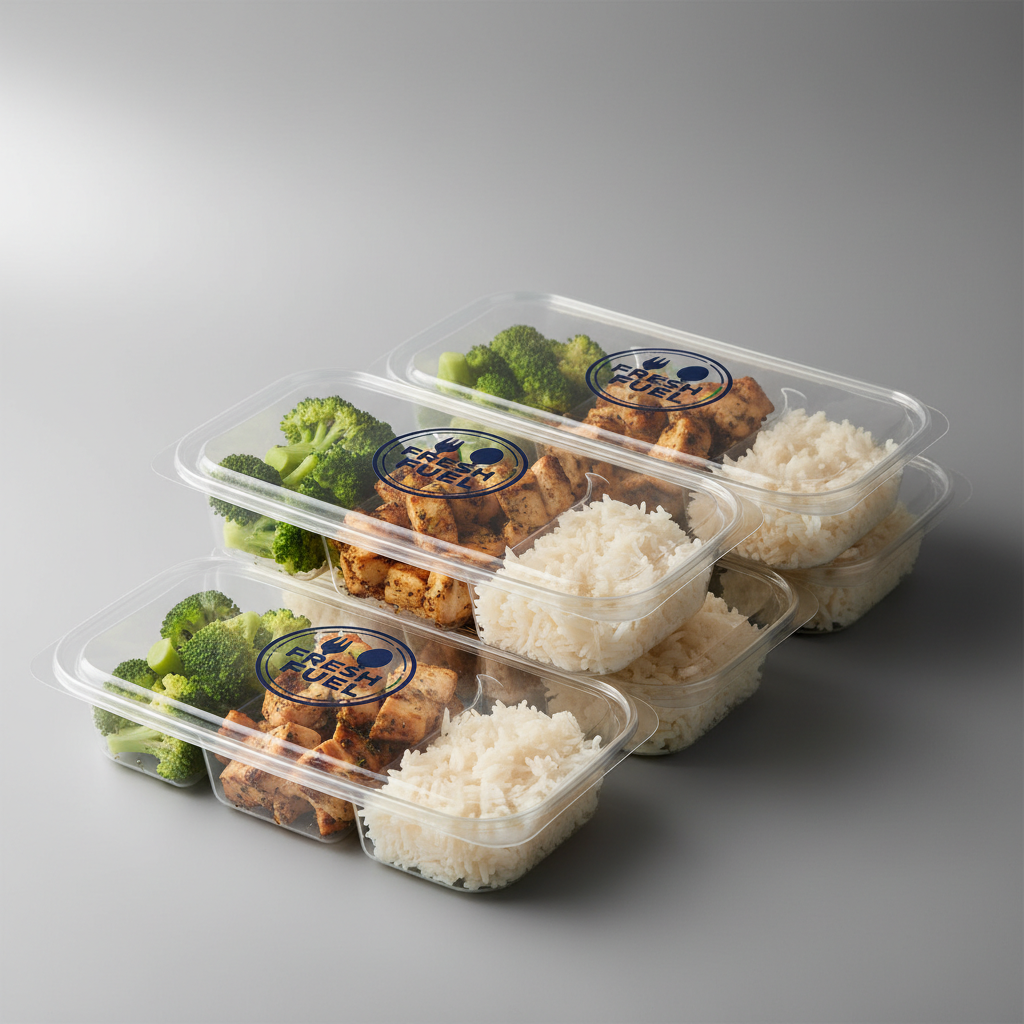
Also known as CAD samples, these are unprinted prototypes made from the actual material intended for production. They are vital for testing the fit and function of food containers or boxes. If your product is heavy or uniquely shaped, a plain sample allows you to perform drop tests and shipping simulations without the cost of a full print run.
Pre-Production Samples (PPS)
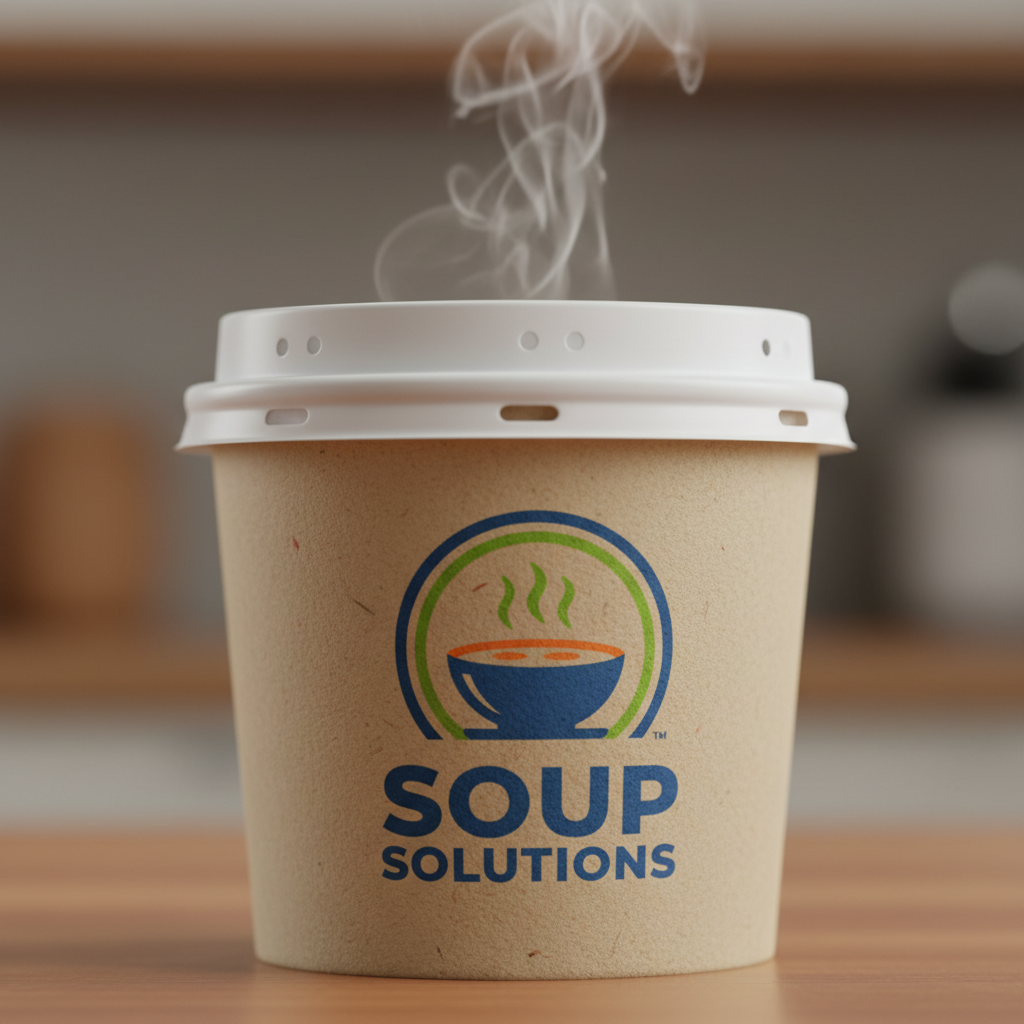
The PPS is the most critical sample. It is produced using the actual plates, inks, and machinery that will be used for the mass order. For high-volume food packaging bags, the PPS is the only way to verify barrier properties, seal strength, and exact Pantone color matching. This is the final gatekeeper before mass production begins.
2. Technical Specifications to Define Before Requesting Samples
A common pitfall in the request for a quote phase is providing vague specifications. To get an accurate sample, you must provide a detailed technical data sheet (TDS). Consider the following factors:
Material Composition and Caliper
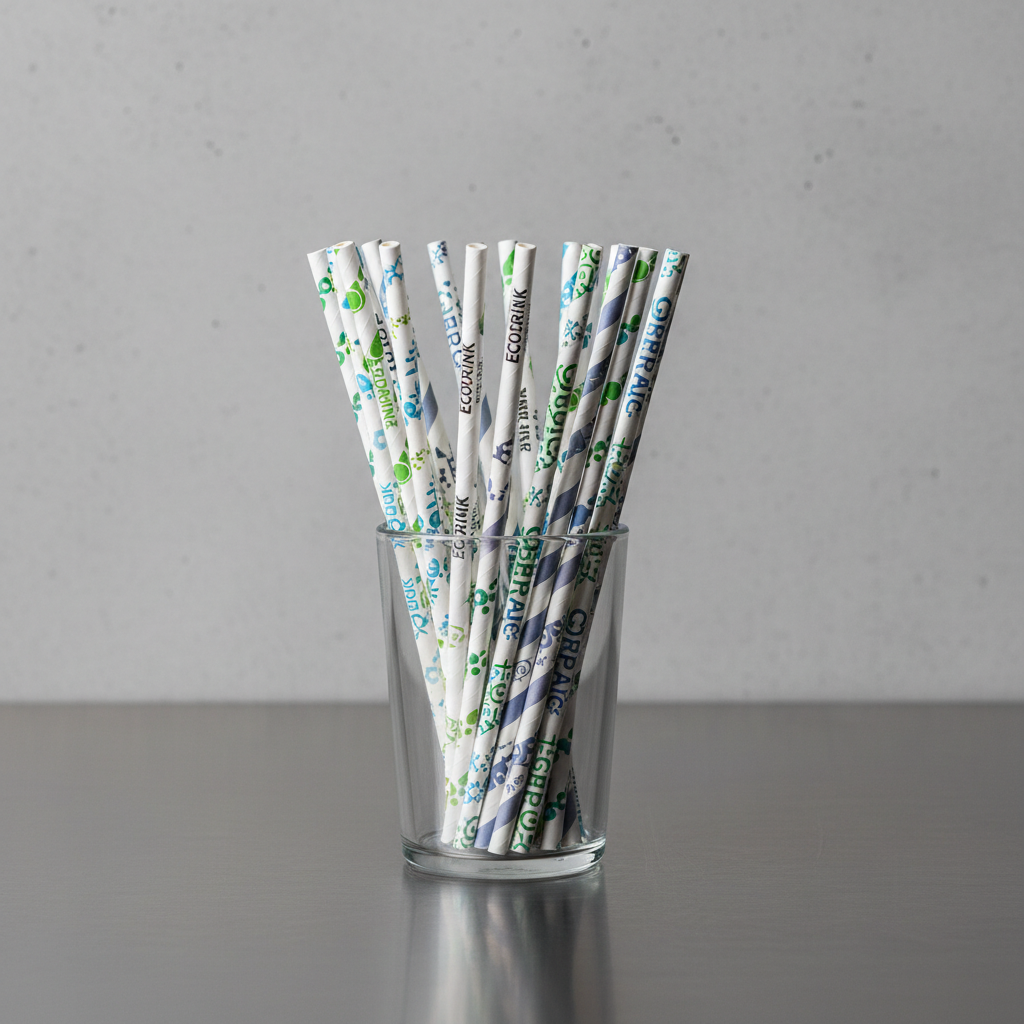
In food packaging, the material must do more than look good; it must protect. For boxes, specify the GSM (grams per square meter) or point thickness. For bags, define the micron thickness of each layer. For example, a standard dried fruit pouch might require a PET/VMPET/PE structure to provide a moisture barrier. If the sample uses a different laminate, the shelf-life testing results will be invalid.
Finishing and Coating
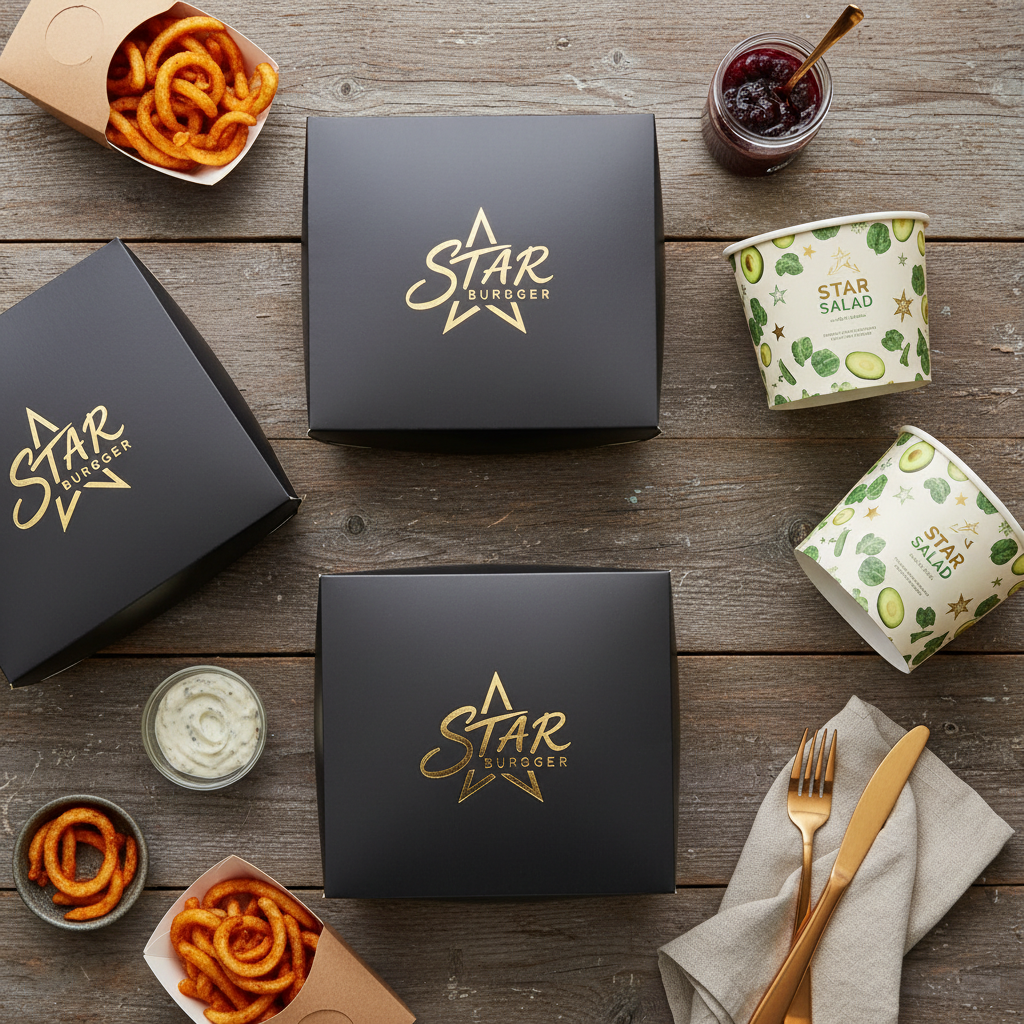
Will the packaging have a matte lamination, a spot UV coating, or a grease-resistant aqueous coating? These finishes affect how the packaging reacts to heat and friction. In food service, grease resistance is paramount for items like burger boxes or pastry trays.
Ink and Safety Requirements
Because the packaging will be in proximity to food, the inks must be low-odor and compliant with food safety standards. When requesting samples, ask the supplier to confirm that the inks used in the PPS are the same as those intended for the final run, as different ink bases can affect the final color tone and drying time.
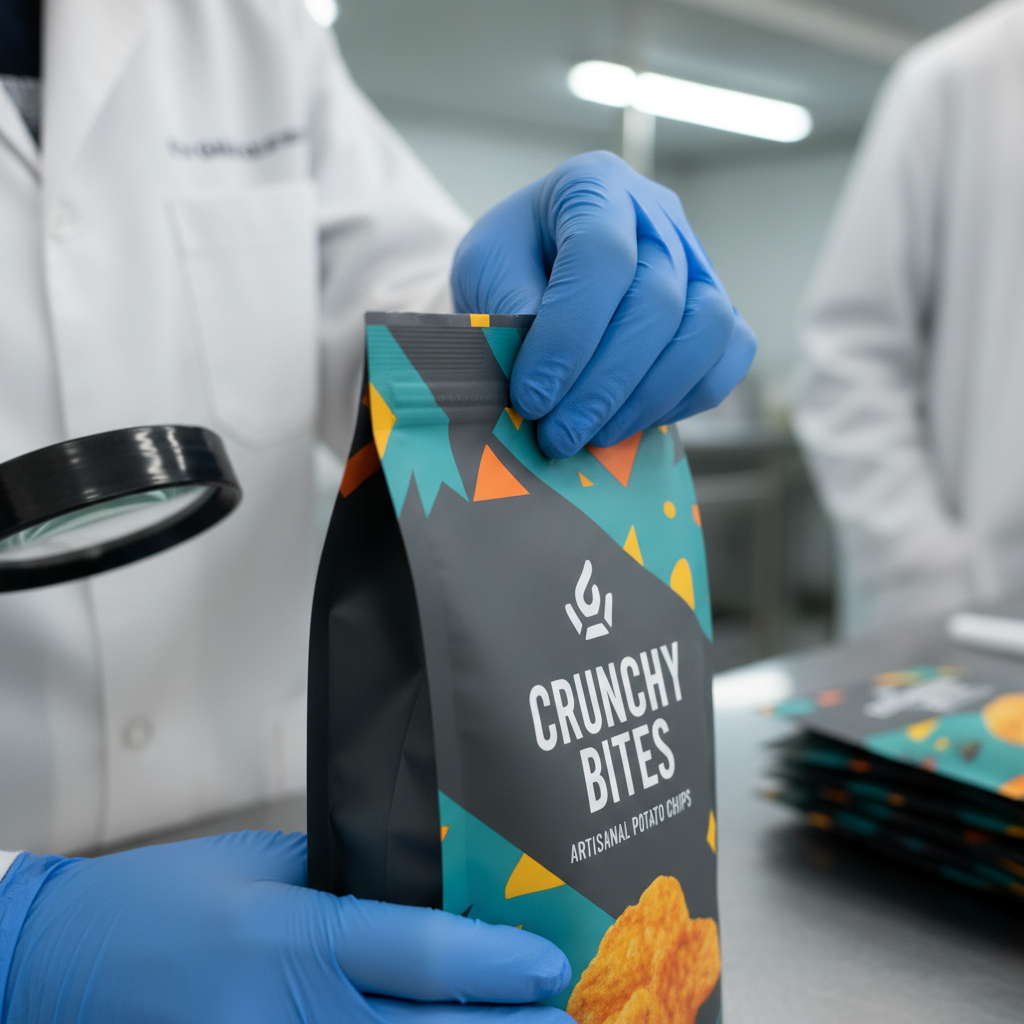
3. The Supplier Checklist: What to Evaluate Upon Arrival
Once you receive your samples, you must conduct a systematic evaluation. Do not rely on a visual inspection alone. Use the following checklist to ensure the packaging meets your quality control (QC) standards.
Visual and Aesthetic Inspection
- Color Consistency: Compare the sample against your Pantone Swatch Book. Check for “ghosting” or uneven ink distribution.
- Registration: Ensure that the different color layers align perfectly. Misalignment (off-registration) results in blurry images and text.
- Typography: Is the small print (ingredients, nutritional facts) legible? This is a legal requirement in most markets.
Functional and Structural Testing
- The Fit Test: Place your product inside. Is there too much movement? Is the closure secure? For food containers, check if the lids snap on tightly to prevent leakage.
- Opening and Closing: If the design includes a perforated tear strip or a resealable zipper, test it 20–30 times to ensure it doesn’t fail.
- Crease Strength: Fold and unfold the box flaps. The paperboard should not crack at the seams, which would expose the white fibers underneath the ink.
Barrier and Environmental Testing
- Odor Test: This is critical for food. Smell the inside of the package. A strong chemical or solvent smell indicates that the ink hasn’t cured properly or that the wrong adhesive was used. This can taint the food’s flavor.
- Moisture/Grease Resistance: If the packaging is for oily foods, place a sample of the food inside and leave it for 24–48 hours at room temperature and in a refrigerator. Check for staining or structural softening.
- Seal Integrity: For food packaging bags, apply pressure to the sealed bag to check for air leaks (the “squeeze test”).
4. Managing Costs and Timelines for Sampling
One of the most frequent questions in the custom packaging order process is: “Why does a sample cost so much?” It is important to understand the logistics behind sample production.
Sample Fees vs. Mass Production Costs
Creating a single custom box or bag requires the same setup time as creating 10,000. The supplier must calibrate the machines, load the specific paper or film, and prepare the inks. Most professional suppliers will charge a sample fee (ranging from $50 to $300 depending on complexity) but will often credit this amount back to your account once the mass production order is placed.
Lead Times
A typical timeline for packaging samples is:
- Stock Samples: 1–3 business days + shipping.
- Plain Mockups: 3–5 business days.
- Pre-Production Samples (Printed): 7–14 business days, as this requires plate making or digital setup.
Always factor in 3–5 days for international express shipping. Rushing the sampling phase is a common cause of overlooked defects.
5. Common Pitfalls in the Sampling Process
Even experienced procurement teams can fall into traps that lead to production delays. Awareness of these common issues can save significant resources.
Pitfall 1: Testing the Sample in Isolation
A sample might look perfect on a desk, but how does it perform on your automated filling line? If you use high-speed machinery to pack your food products, you must ensure the sample’s Coefficient of Friction (COF) is compatible with your machines. A bag that is too “slippery” or too “tacky” can jam the production line.
Pitfall 2: Ignoring the “Golden Sample” Rule
Once you approve a sample, it becomes the “Golden Sample.” You should have at least two identical approved samples: one for you to keep and one to send back to the factory signed and dated. This prevents the “I thought you meant…” conversations if the mass production batch differs from the prototype.
Pitfall 3: Not Checking Lightfastness
If your food products will be displayed in retail windows or under heavy fluorescent lighting, ask for lightfastness testing. Some inks fade quickly when exposed to UV, which can make your product look “old” on the shelf within weeks.
6. Transitioning from Sample Approval to Mass Production
After the sample is rigorously tested and approved, the final step is the transition to the full production run. This is where the food packaging box or bag design is locked in.
Ensure that your Purchase Order (PO) explicitly references the approved sample ID number. Specify that the mass production must match the material, color, and construction of that specific sample. This provides you with legal and commercial leverage if the final delivery does not meet the agreed-upon standards.
Frequently Asked Questions (FAQ)
1. Can I get a free sample of my custom design?
Generally, custom-printed samples (PPS) require a fee because they involve machine setup and material costs. However, most suppliers provide stock samples of previous work for free, and many will refund the custom sample fee once a mass production order is confirmed.
2. How many samples should I request?
It is best to request at least 3–5 copies of the same sample. This allows you to keep one as a reference, use one for destructive testing (like grease or burst tests), and share others with your marketing or logistics teams for feedback.
3. Why does the color on my sample look different from my computer screen?
Computer screens use RGB (light-based) color, while packaging is printed using CMYK or Pantone (ink-based) color. Additionally, the material (substrate) absorbs ink differently. A matte paper box will look different than a glossy plastic bag, even with the same ink code.
4. What if the sample arrives and it’s not what I expected?
This is exactly why sampling exists. If the sample is incorrect, document the issues with photos and technical notes. A professional supplier will work with you to adjust the dielines, materials, or colors and provide a revised sample for approval.
5. Do I need a new sample if I only change the text?
If the change is minor (like a typo in the ingredients list), a digital proof is usually sufficient. However, if the change affects the layout or color density, a new physical sample is recommended to ensure no new errors were introduced during the file update.
6. How do I ensure my sample is food-safe?
Request documentation from the supplier regarding the food-grade nature of the materials and inks. While the sample itself is a physical representation, the safety is confirmed through material certifications and compliance with local food contact regulations.
Conclusion: Protect Your Investment
The sampling process is the most effective form of quality control in the packaging industry. By taking the time to define technical specifications, conduct functional testing, and establish a “Golden Sample,” you mitigate the risks associated with mass production. Whether you are ordering food packaging bags or complex food containers, the sample is your blueprint for success.
Ready to start your next project with a partner who understands the technical demands of food packaging? Request a quote / Get a sample today to ensure your brand is represented with the highest quality standards.